Project Settings
This documentation provides a comprehensive guide to managing and configuring project settings in PipeOps. With PipeOps, you can easily customize various aspects of your project to meet specific requirements and optimize its performance.
Accessing Project Settings
To access project settings:
- Navigate to your project's main page in PipeOps.
- Click on the "Settings" tab to access the project settings dashboard.
Exploring Individual Project Settings
The project settings dashboard is organized into several subsections, each catering to specific configuration areas:
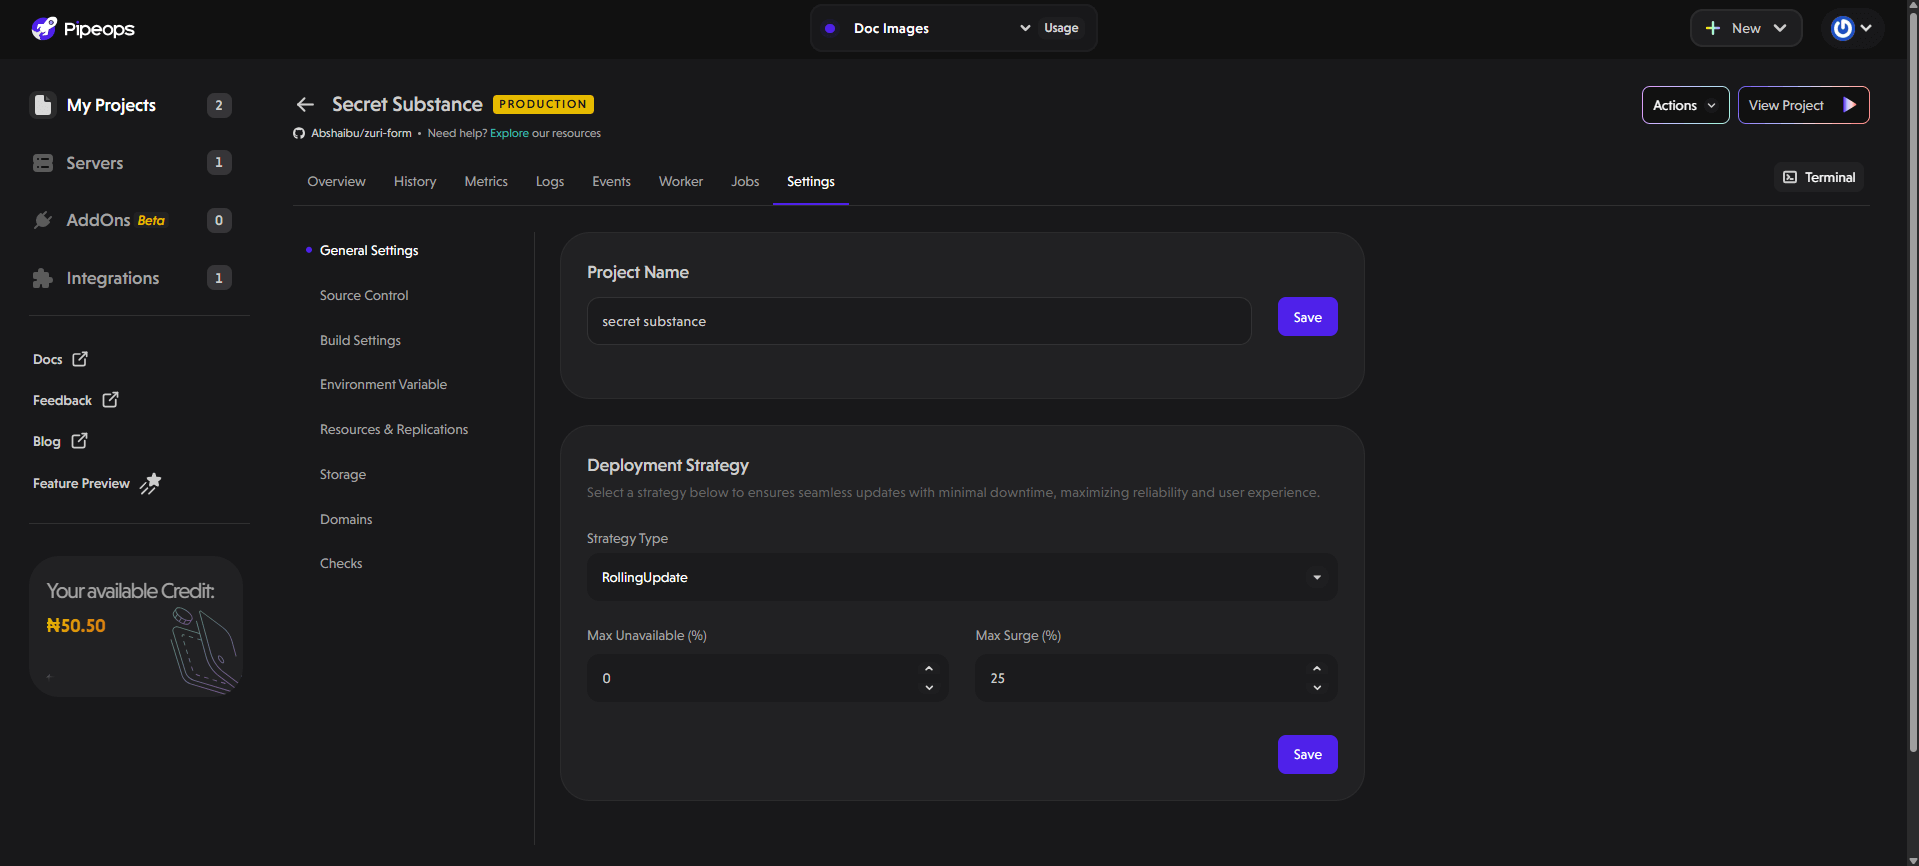
General Settings
In this section, you can manage basic project details such as:
-
Project Name: Rename your project directly from this field.
-
Deployment Strategy: Select a deployment strategy to ensure smooth updates with minimal downtime. Users can choose between two strategies:
- RollingUpdate: Gradually replaces old deployments with new ones, ensuring minimal downtime and continuous availability. This strategy is ideal for production environments where service uptime is critical.
- Recreate: Terminates all existing deployments before creating new ones. This approach ensures that the system starts fresh with every deployment but may cause temporary downtime.
Additionally, users can fine-tune deployment strategy:
- Max Unavailable (%): Defines the percentage of replicas that can be unavailable during deployment.
- Max Surge (%): Specifies the percentage of extra replicas that can be created during an update.
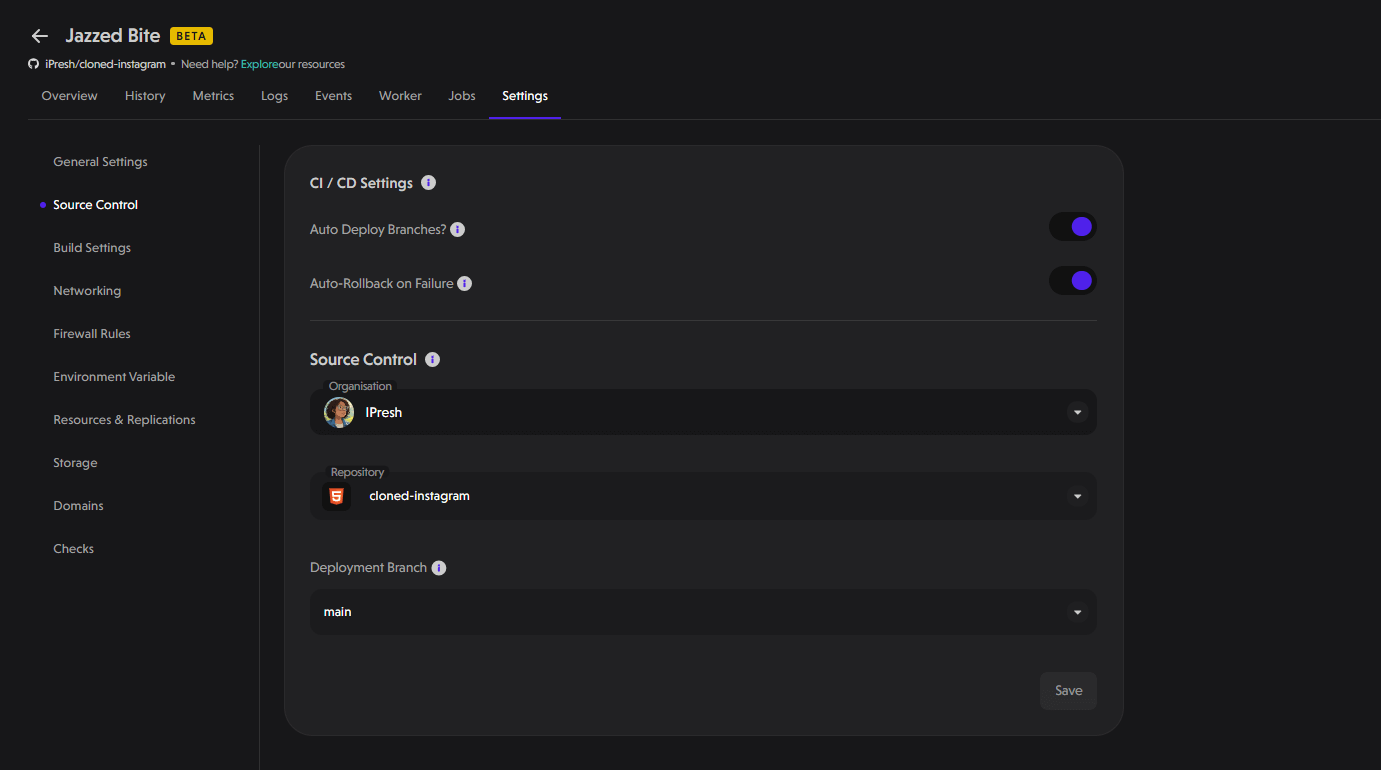
Source Control
The settings here are subdivided into 2 sections:
-
CI/CD Settings: You can specify if deployments are automatically triggered when you make new changes to a branch in your git (GitHub, GitLab, and Bitbucket) repository. You can also auto-rollback on failure, this means that if a deployment fails, it automatically redeploys the last working version of your application.
-
Source Control: Here, you can select which git repository and production branch that PipeOps will deploy from.
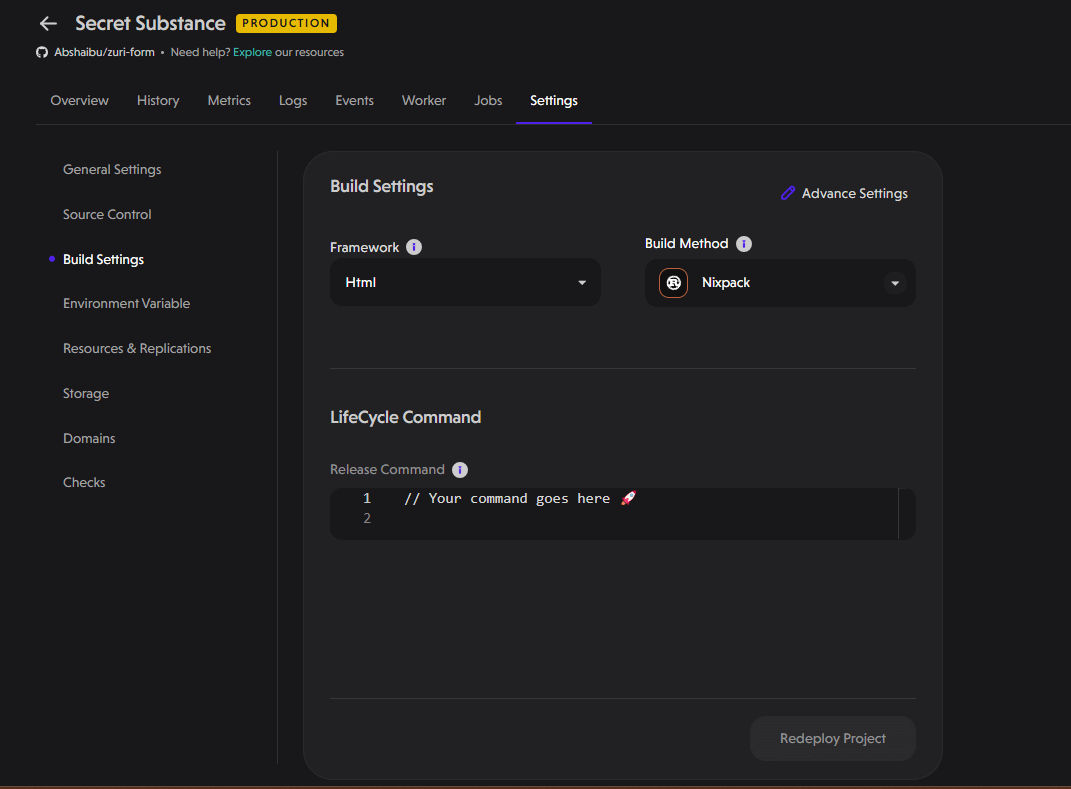
Build Settings
Customize the build process with options including:
- Framework: Choose the framework for your project.
- Build Method: Select the build method.
- Lifecycle Command: Define the command your project runs on.
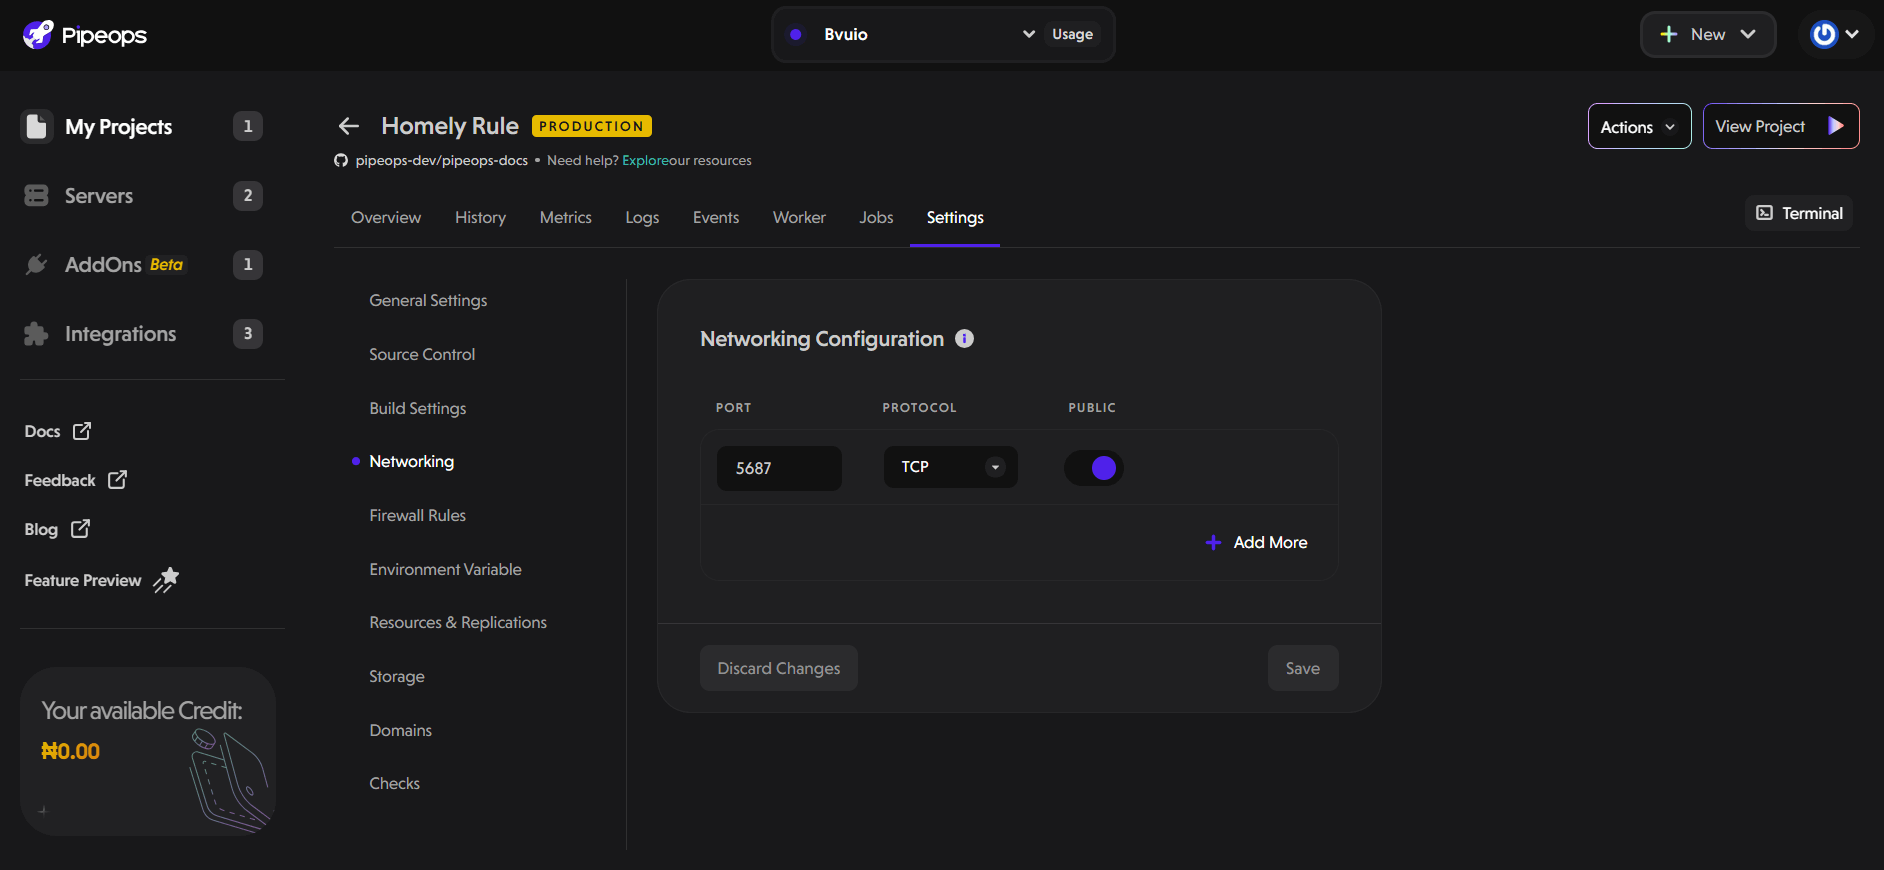
Networking
The networking section allows you to expose multiple ports from your deployed project. This feature gives you control over how your application communicates with services and users.
-
Add Network Ports: Specify the port number your application will use.
-
Select Protocol: Choose the protocol for traffic on this port — either TCP (Transmission Control Protocol) or UDP (User Datagram Protocol).
-
Public Access: Toggle the Public switch to make the port accessible from outside the cluster. When enabled, external clients can reach your application on this port.
-
Add More Ports: Click Add More to configure additional ports and protocols as needed for your application.
After configuring your networking settings, click Save to apply changes or Discard Changes to revert.
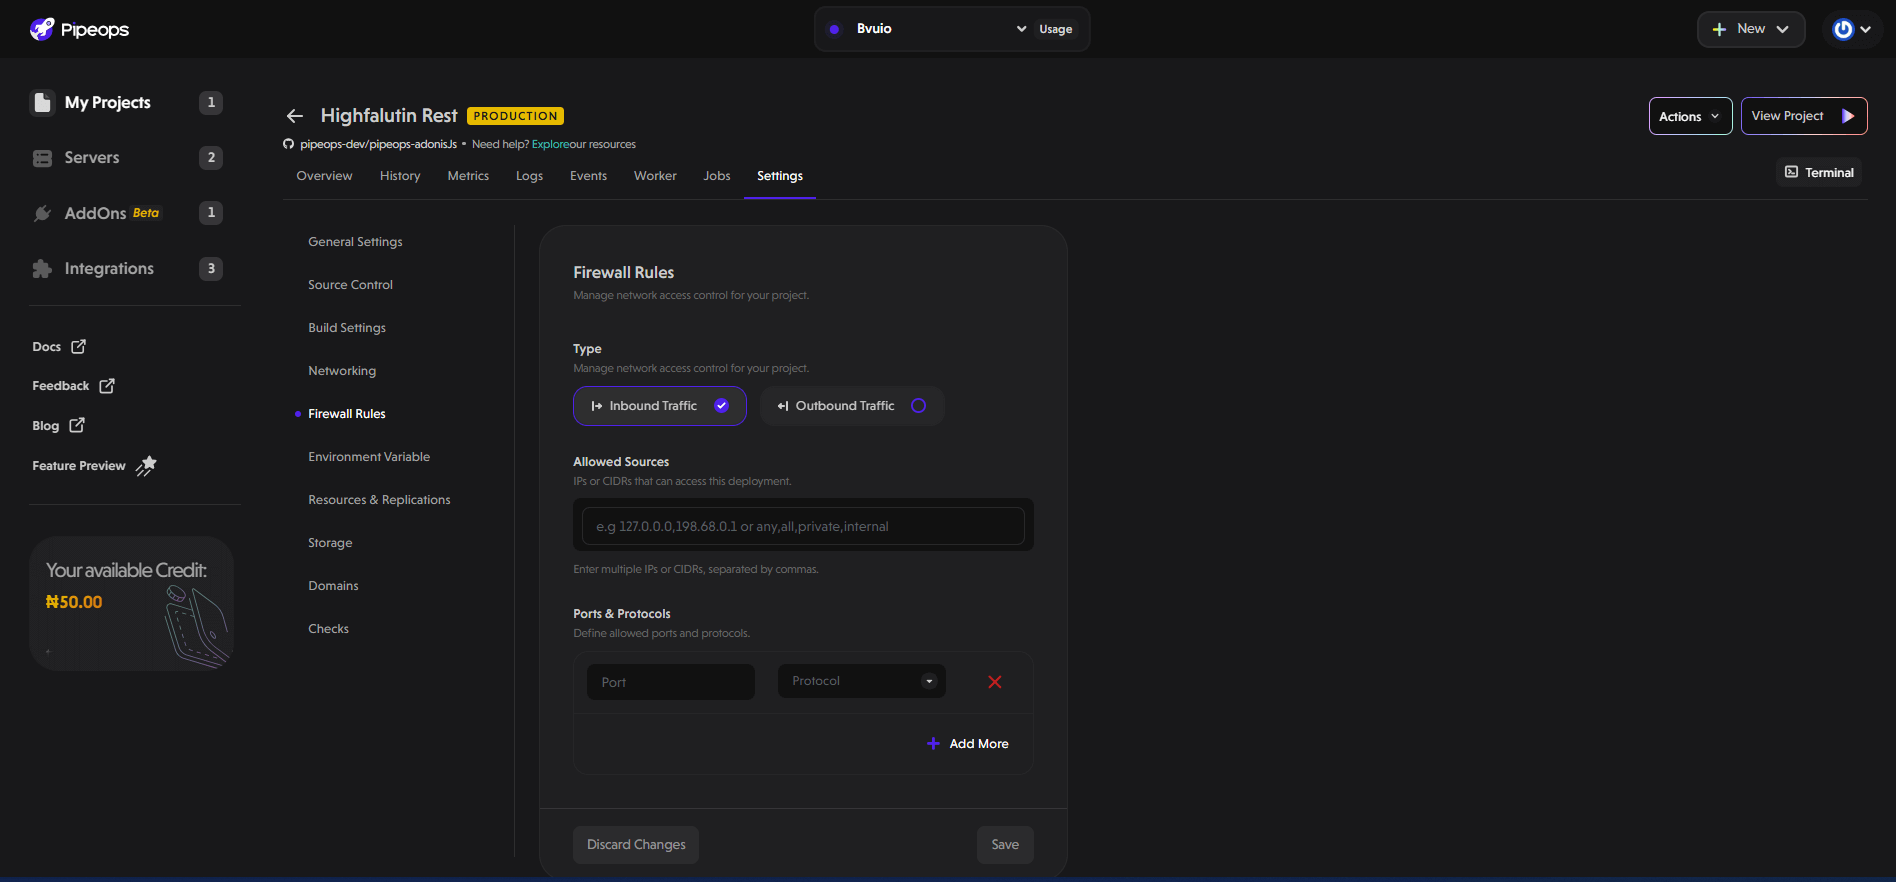
Firewall Rules
The Firewall Rules section lets you manage network access control for your project, enhancing security by restricting which sources can communicate with your application.
Traffic Type:
You can configure rules for:
-
Inbound Traffic: incoming requests to your application.
-
Outbound Traffic: outgoing requests from your application.
Allowed Sources:
Specify the IP addresses or CIDR blocks allowed to access your deployment. You can enter multiple values separated by commas.
CIDR (Classless Inter-Domain Routing) lets you specify IP ranges efficiently using a format like 192.168.1.0/24, which includes all IPs from 192.168.1.0 to 192.168.1.255.
PipeOps also supports the following keywords:
- Any/all — allow access from any IP address.
- Private — allow access from private IP ranges only.
- Internal — restrict access to your project’s internal network only.
Ports & Protocols:
Define which ports and protocols are permitted:
-
Port: Enter the specific port number (e.g., 80, 443).
-
Protocol: Choose between TCP or UDP.
Expose multiple ports as needed using the Add More button.
Click Save to apply your firewall rules or Discard Changes to cancel.
Firewall rules are crucial for securing your application by limiting exposure to only trusted sources and required ports, helping protect against unauthorized access and attacks.
Note: The Firewall Rules feature is currently in beta and not enabled by default, except for users who have tracking protection. To access it, you must first enable it via the Feature Preview section in your PipeOps dashboard sidebar:
Click Feature Preview in the sidebar.

Toggle on Firewall Rules in the list of beta features.
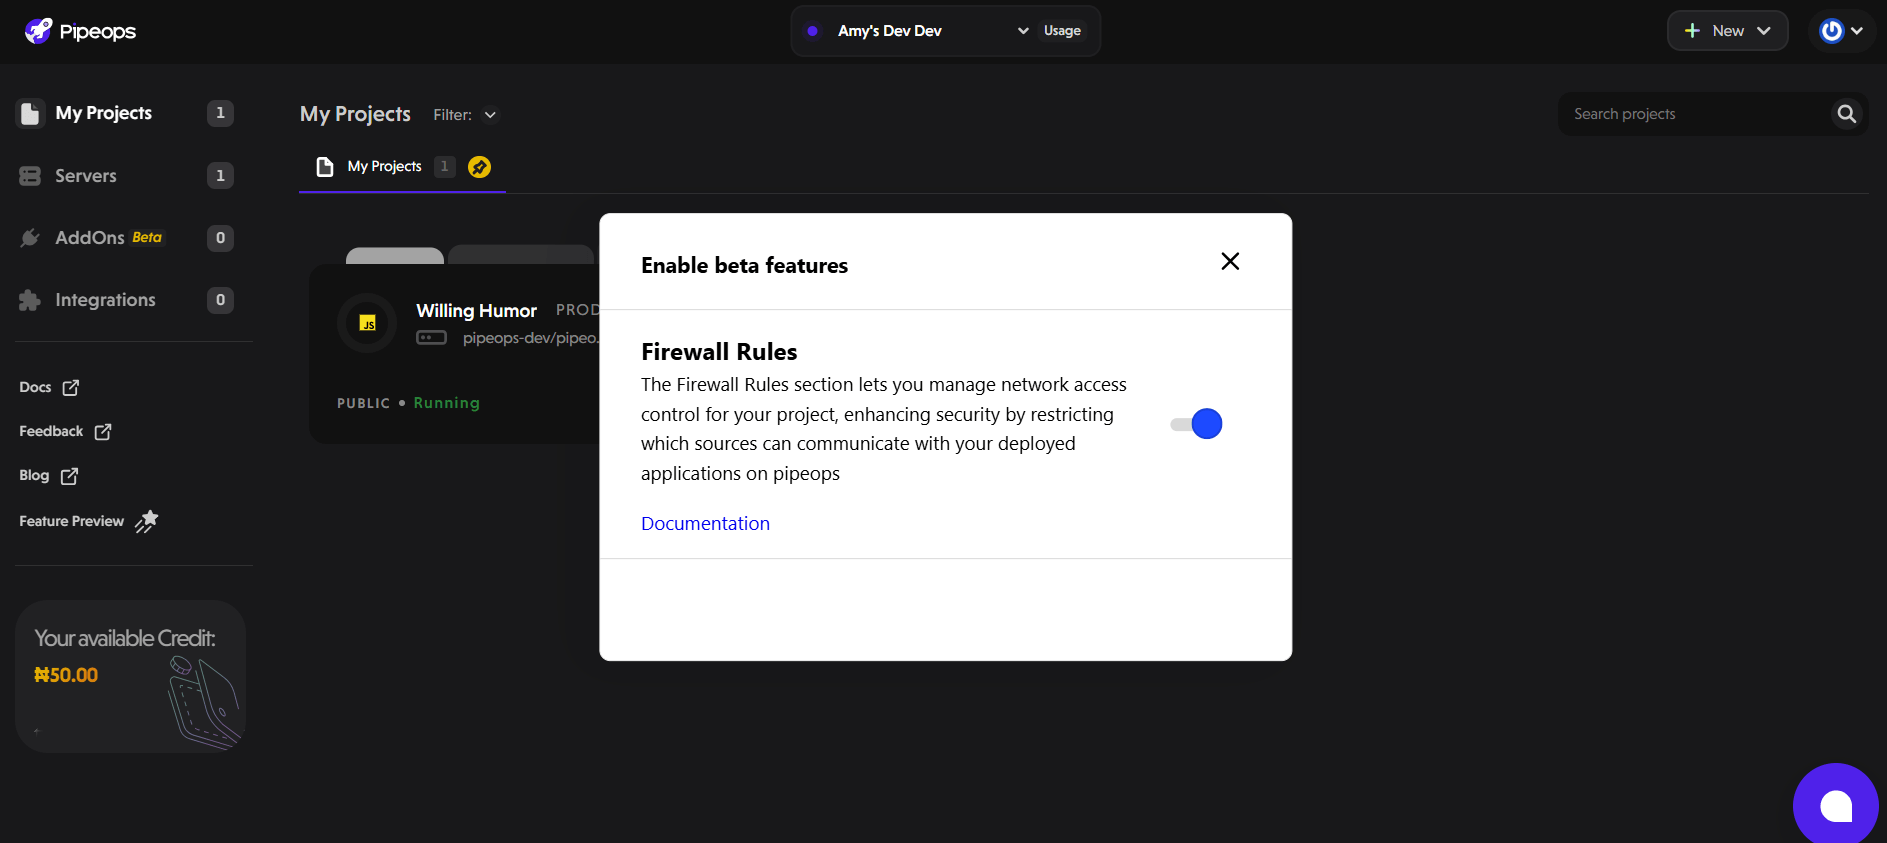
After enabling, refresh the page to see the Firewall Rules option in your Project Settings.
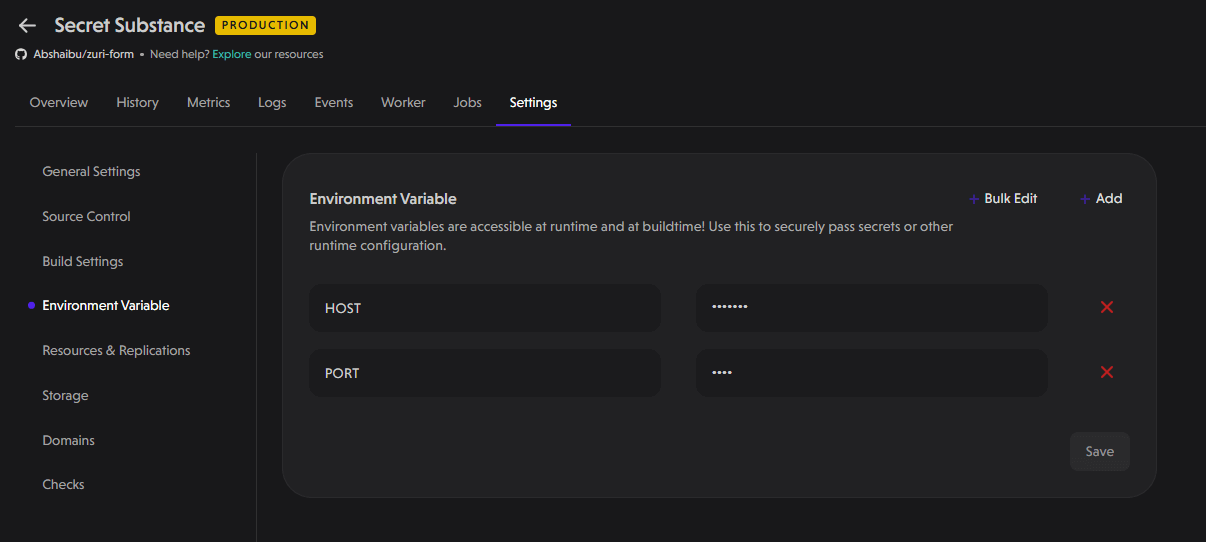
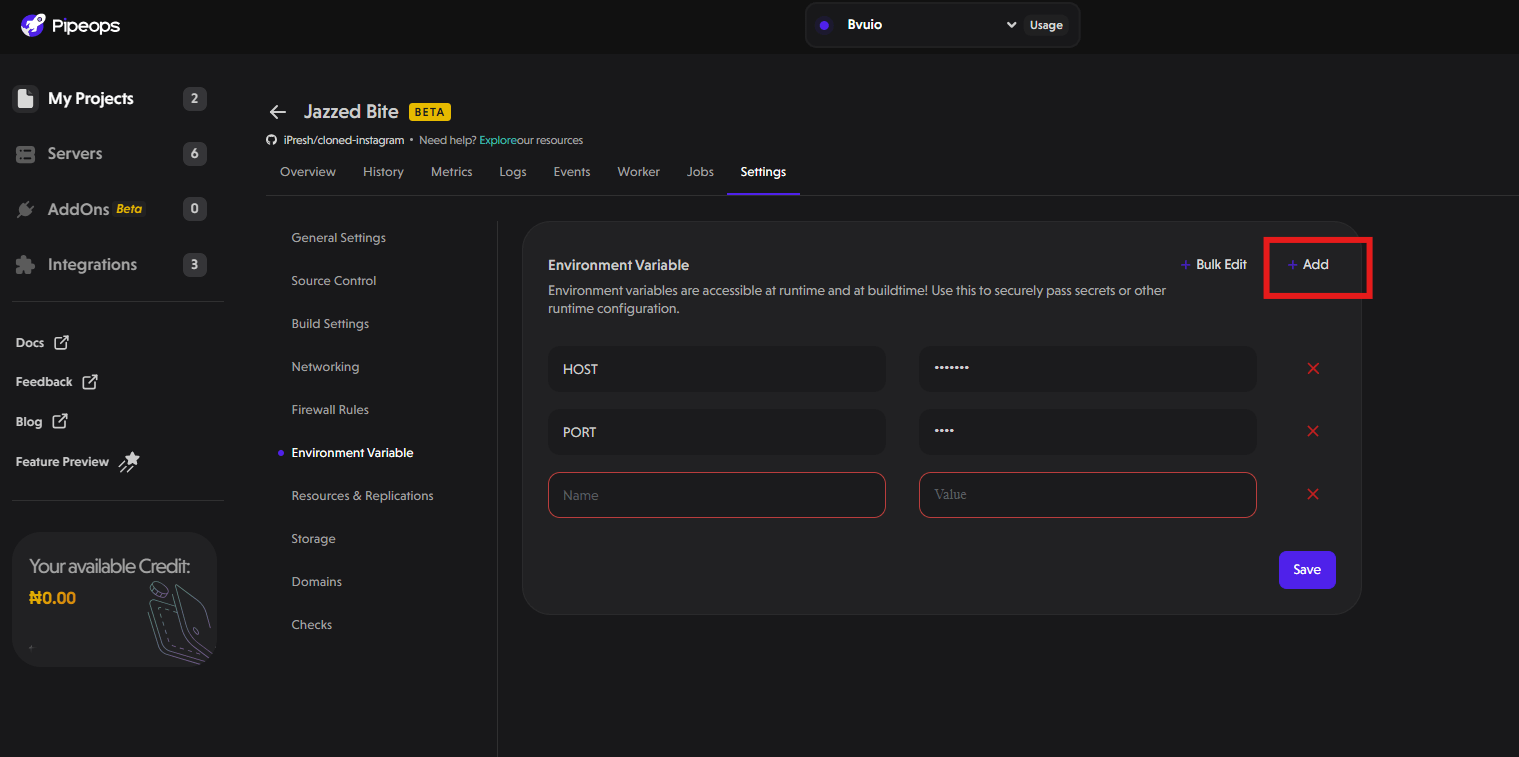
Environment Variable
Here you can perform either of the following options:
- Edit Existing Variables: Modify existing environment variables.
- Create New Variables: Add new environment variables individually or in bulk. We will discuss the two ways to create environmental variables in more detail.
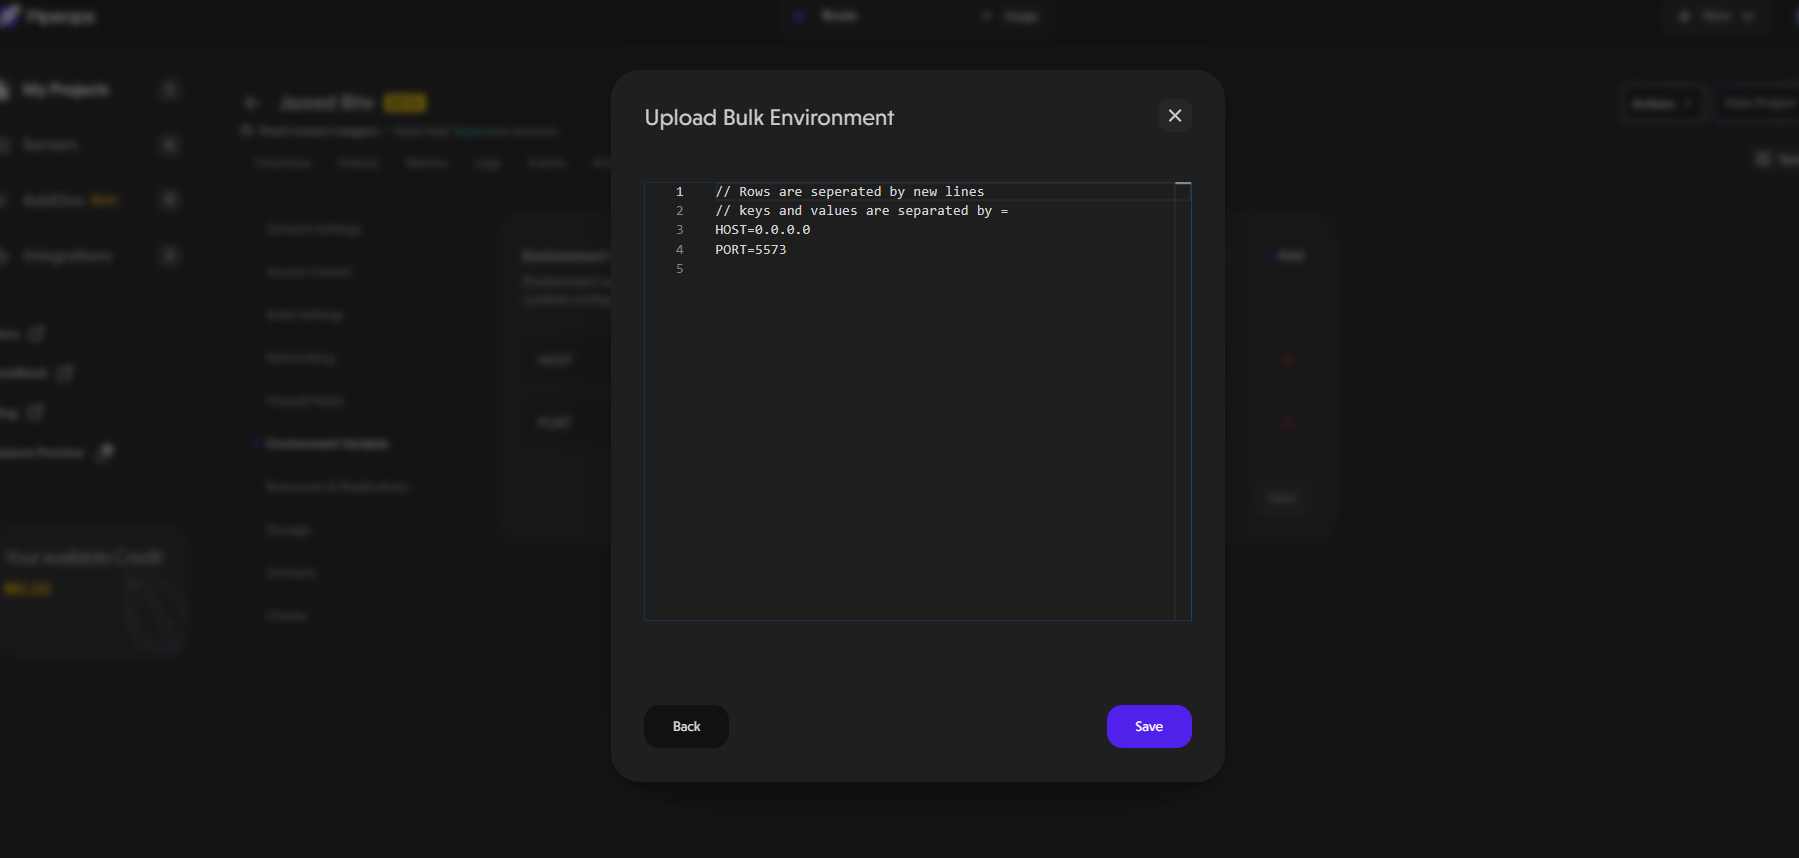
- Using the Bulk Edit Button: After clicking on the bulk edit button, a pop-up appears where you can add all your environment variables at once. This is especially useful if your project has a lot of environment variables that it depends on.
- Using the Add Button: After clicking on the Add button, a new row where you can add a new environment variable appears as shown below. Fill in the details for your new environment variable and click the save button on the bottom right corner of the pop-up.
Resources and Replication
There are 2 subsections under this:
- General resources: You can configure preset templates that will determine the CPU cores and the amount of memory that will be allocated to your project.
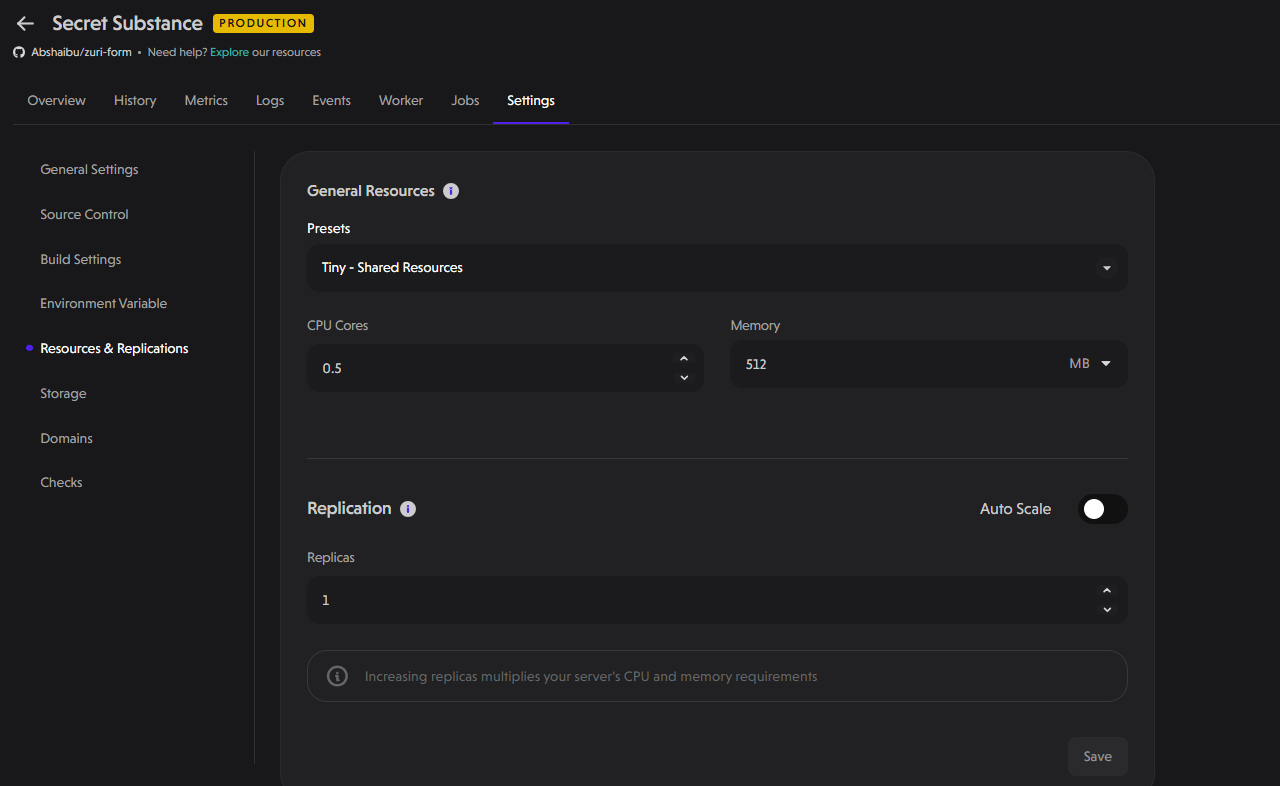
- Replication: Here you can select the number of replicas of your project that will be created. Replication is especially useful for enhanced redundancy and performance.
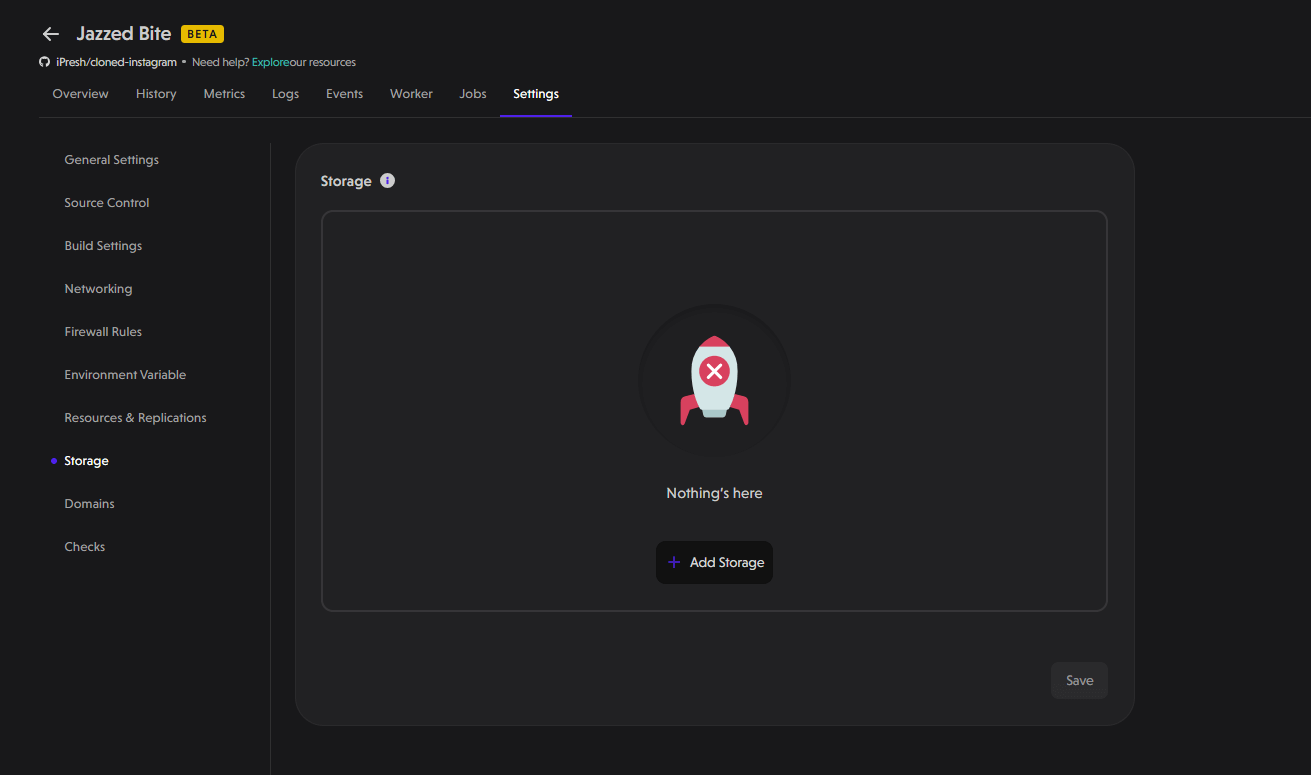
Storage
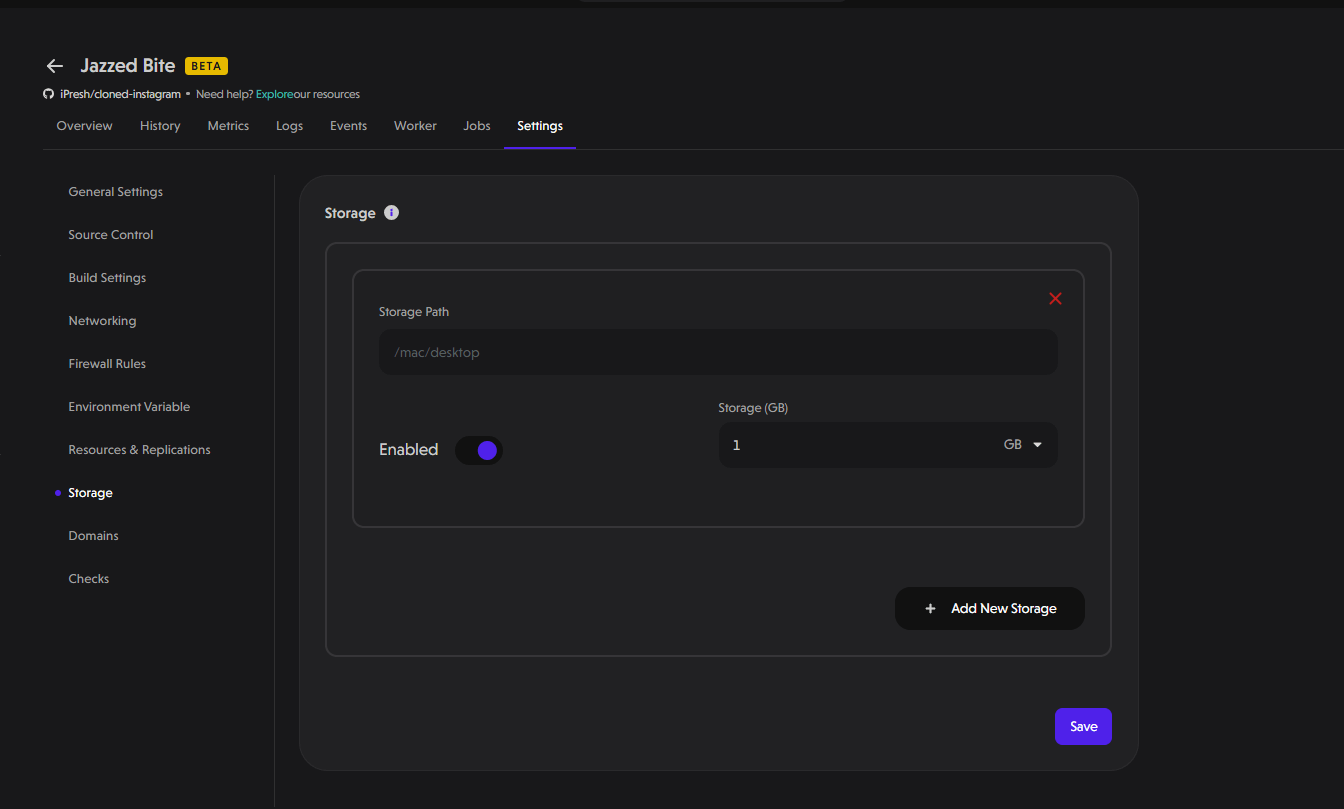
In this section, you can easily add extra storage to meet your needs. Here’s how:
- Specify the Path: Determine where you want the extra storage to be added. This could be any directory within your application that requires more space.
- Set the Size: Decide how much additional storage you need. Simply enter the number of Gigabytes required.
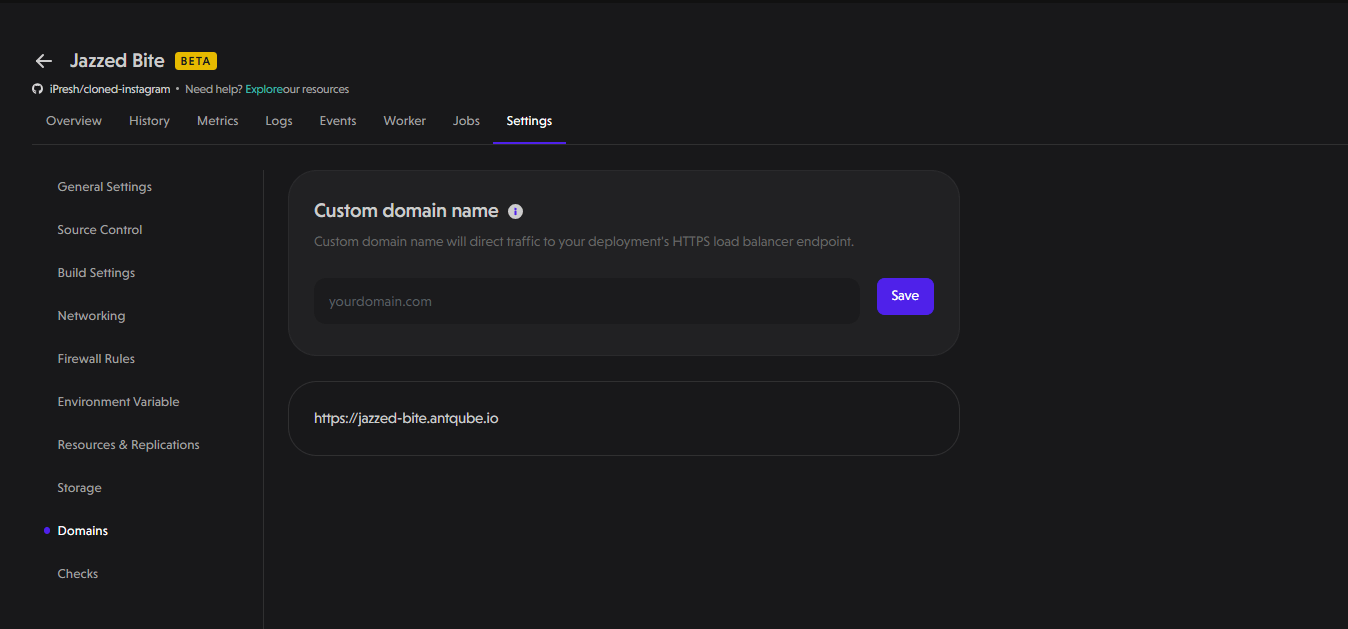
Domain
This allows you to configure custom domain names for your deployments. By entering a personalized domain (e.g., yourdomain.com), you can direct traffic to your application's HTTPS load balancer endpoint. This feature enables you to personalize your application's URL for better accessibility.
Checks
Health checks are crucial for ensuring the stability, availability, and performance of your applications.
PipeOps provides three types of health checks:
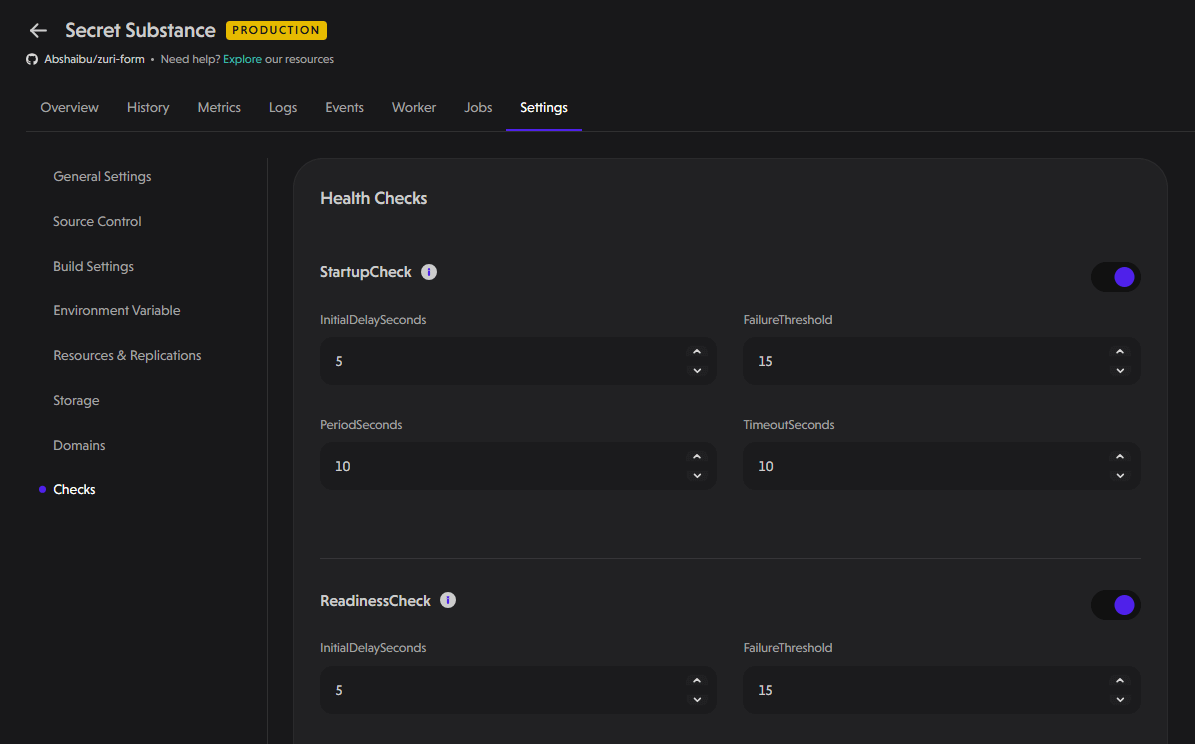
StartupCheck
The Startup Check determines whether an application has successfully started. Configurable parameters include:
- Initial Delay Seconds: The time (in seconds) to wait before performing the first check after starting.
- Failure Threshold: The number of failed checks before the container is considered unhealthy.
- Period Seconds: The interval (in seconds) between consecutive checks.
- Timeout Seconds: The time (in seconds) a check is allowed to run before it is considered a failure.
ReadinessCheck
The Readiness Check determines whether the application is ready to serve traffic. Configurable parameters include:
- Initial Delay Seconds: The waiting period before the first check is conducted.
- Failure Threshold: Defines how many failed checks are needed before the container is marked as unready.
- Period Seconds: Frequency at which the check runs.
- Timeout Seconds: Duration before a check is considered failed.
LivenessCheck
The Liveness Check verifies whether an application is still running and responsive. Configurable parameters include:
- Initial Delay Seconds: The time delay before the first liveness probe runs.
- Failure Threshold: Number of failed attempts before the system restarts the container.
- Period Seconds: The frequency of performing the check.
- Timeout Seconds: How long the check waits for a response before marking it as failed.
By navigating through these subsections, you can effectively tailor your project settings to meet specific requirements, ensuring seamless deployment and optimal performance. Make the most of PipeOps project settings to streamline your development process and collaborate efficiently.