Deploying A Project
This guide will take you through the steps to deploy a project on PipeOps. For this section, we will be using a sample React application to show the seamless deployment process. You can follow along with a personal project and achieve similar results.
Prerequisites:
- Basic understanding of web development concepts.
- Navigate to your PipeOps dashboard.
Step 1: Navigate to the Projects Page
Log in to your PipeOps dashboard. Once you are logged in, you can access Projects by using one of the following methods:
-
Side Navbar: Click on “Projects” from the sidebar menu.
-
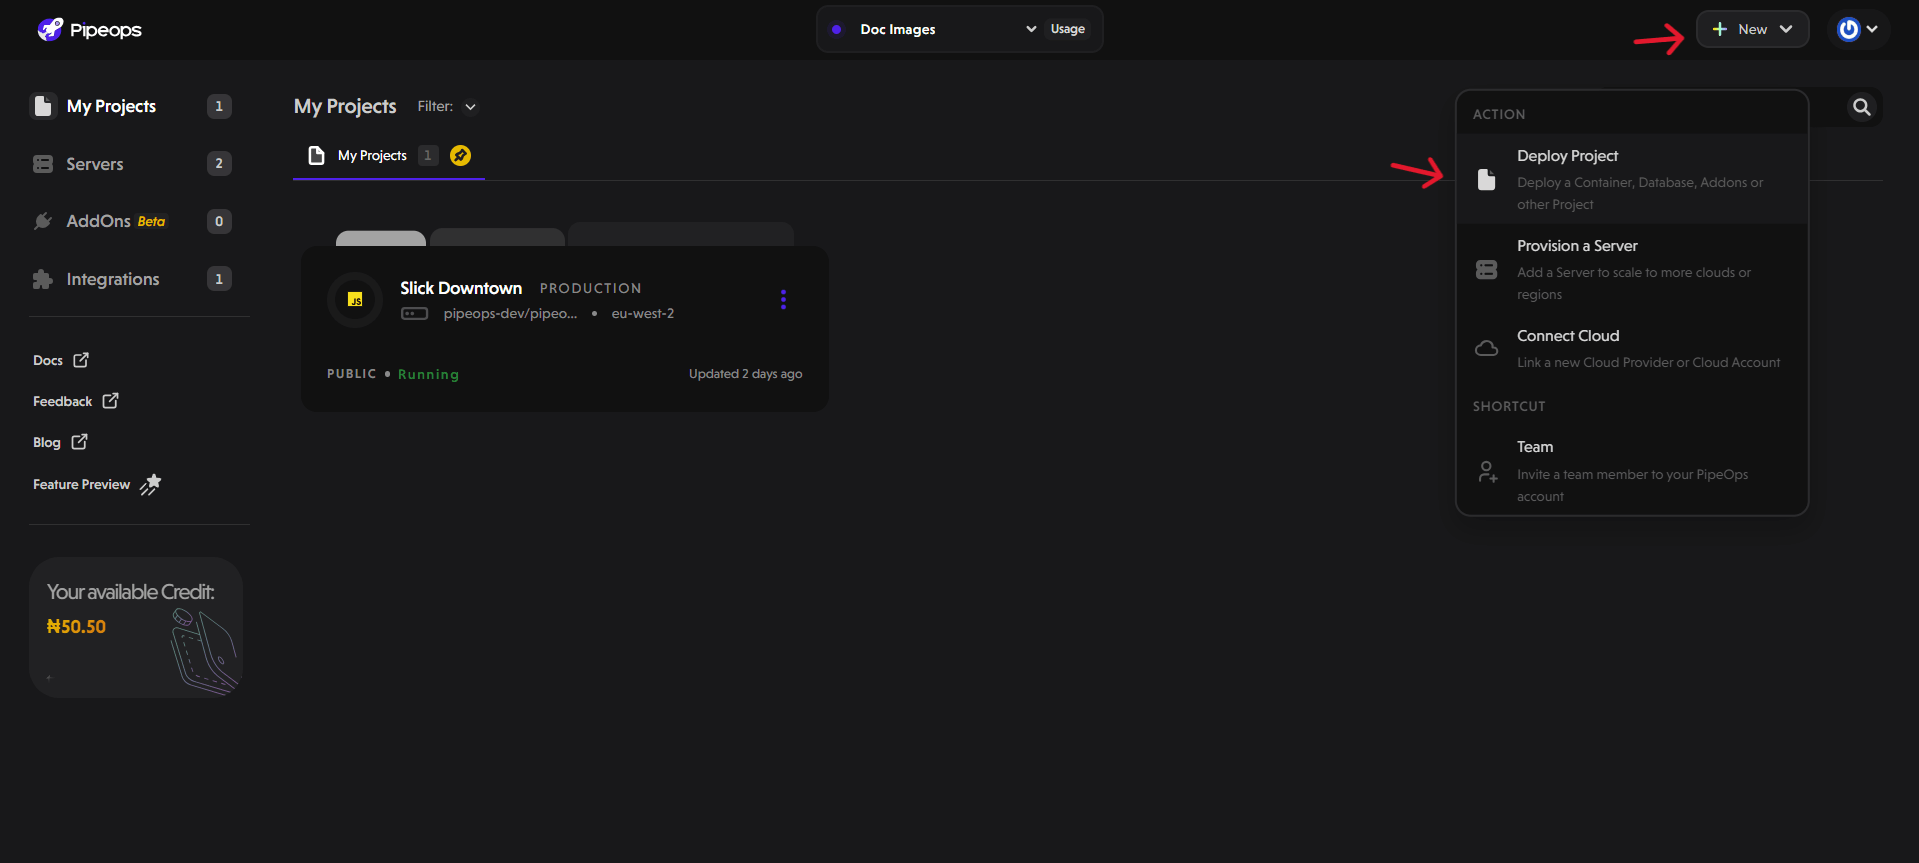
Top Navbar: Alternatively, click the ‘’New” button on the top right corner of your screen. Select “Deploy Project” from the dropdown menu.
Note: If you're not deploying for the first time, clicking "Projects" takes you directly to Step 3: Choose a Project Type
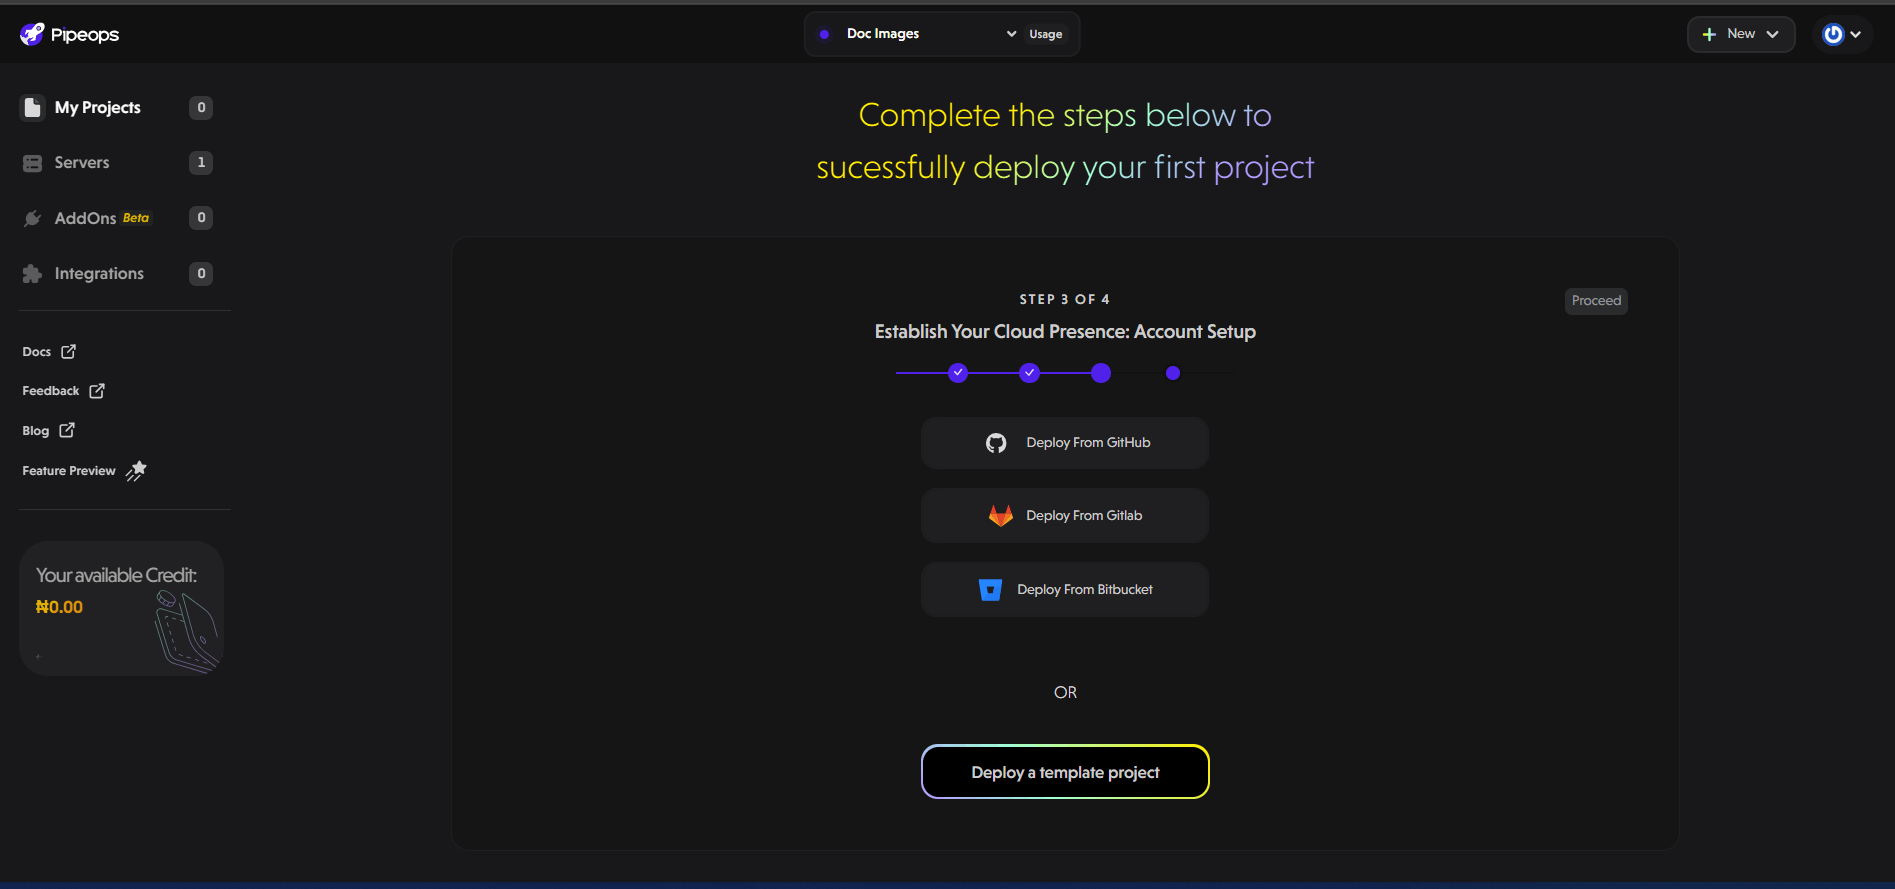
Step 2: Connect Repository
The next step for first time users is to connect your repository. Connecting your repository to PipeOps allows for automatic deployment.
- Select your preferred repository provider (GitHub, GitLab, or Bitbucket).
-
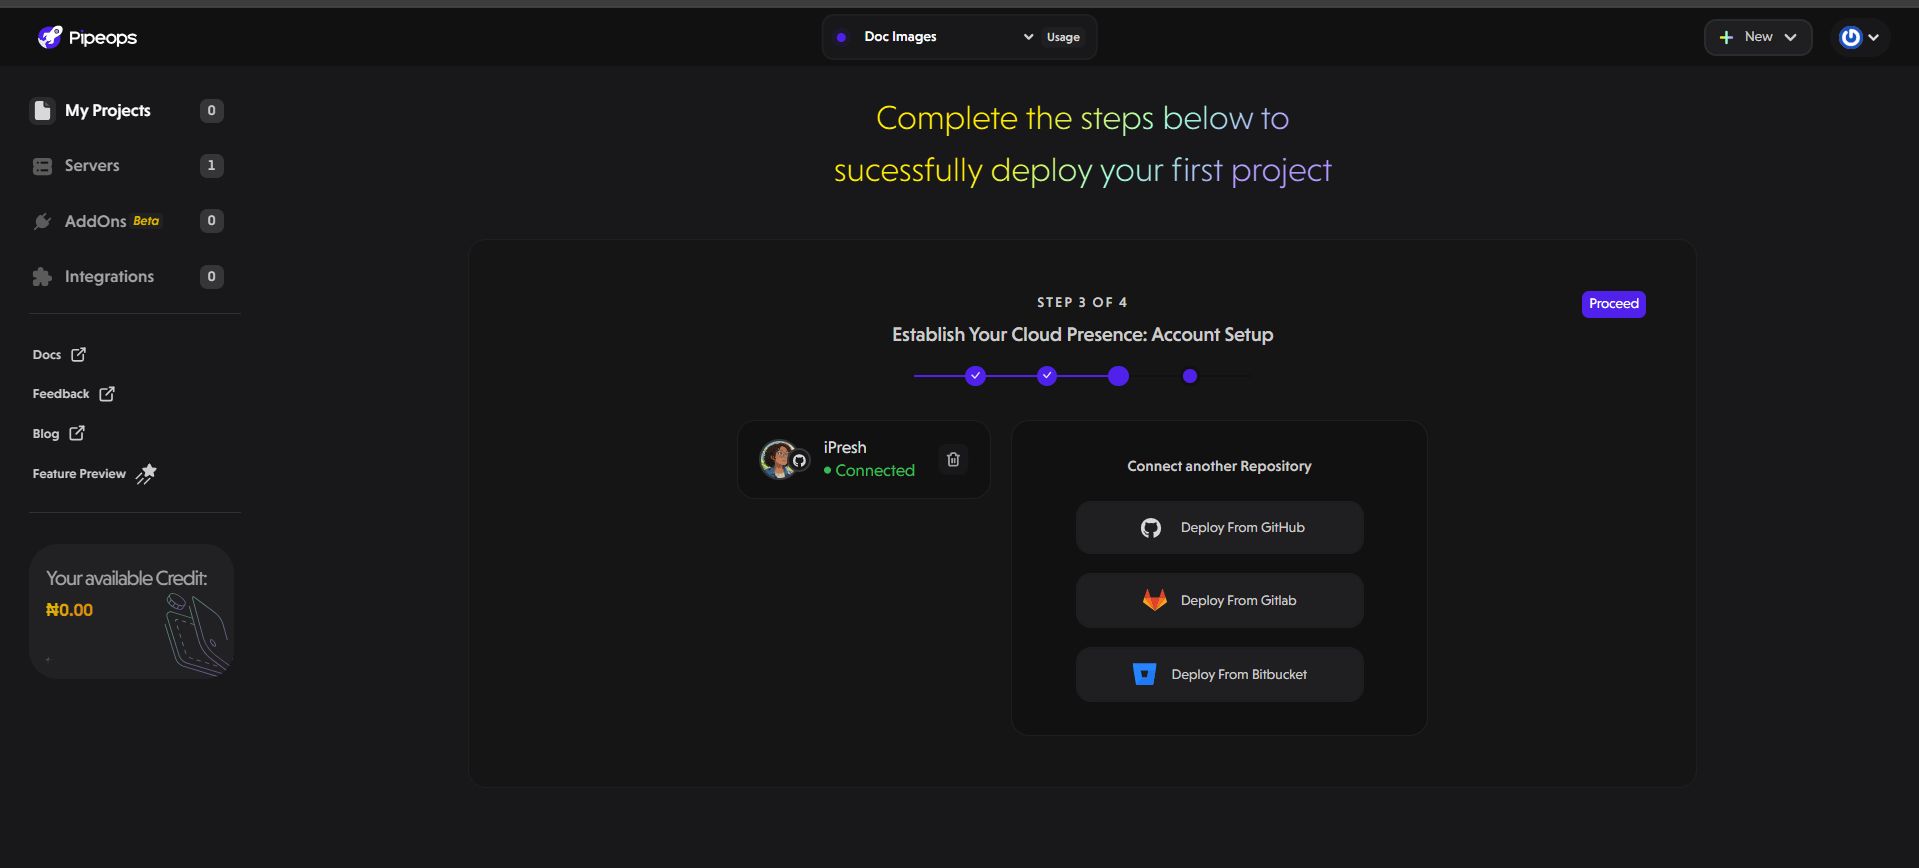
Authenticate your account to establish a connection between PipeOps and your repository.
-
Once authenticated, your repository will be visible on your dashboard.
- Click the "Proceed" button to start your first deployment. This action takes you to Step 4: Select Git Account and Organization
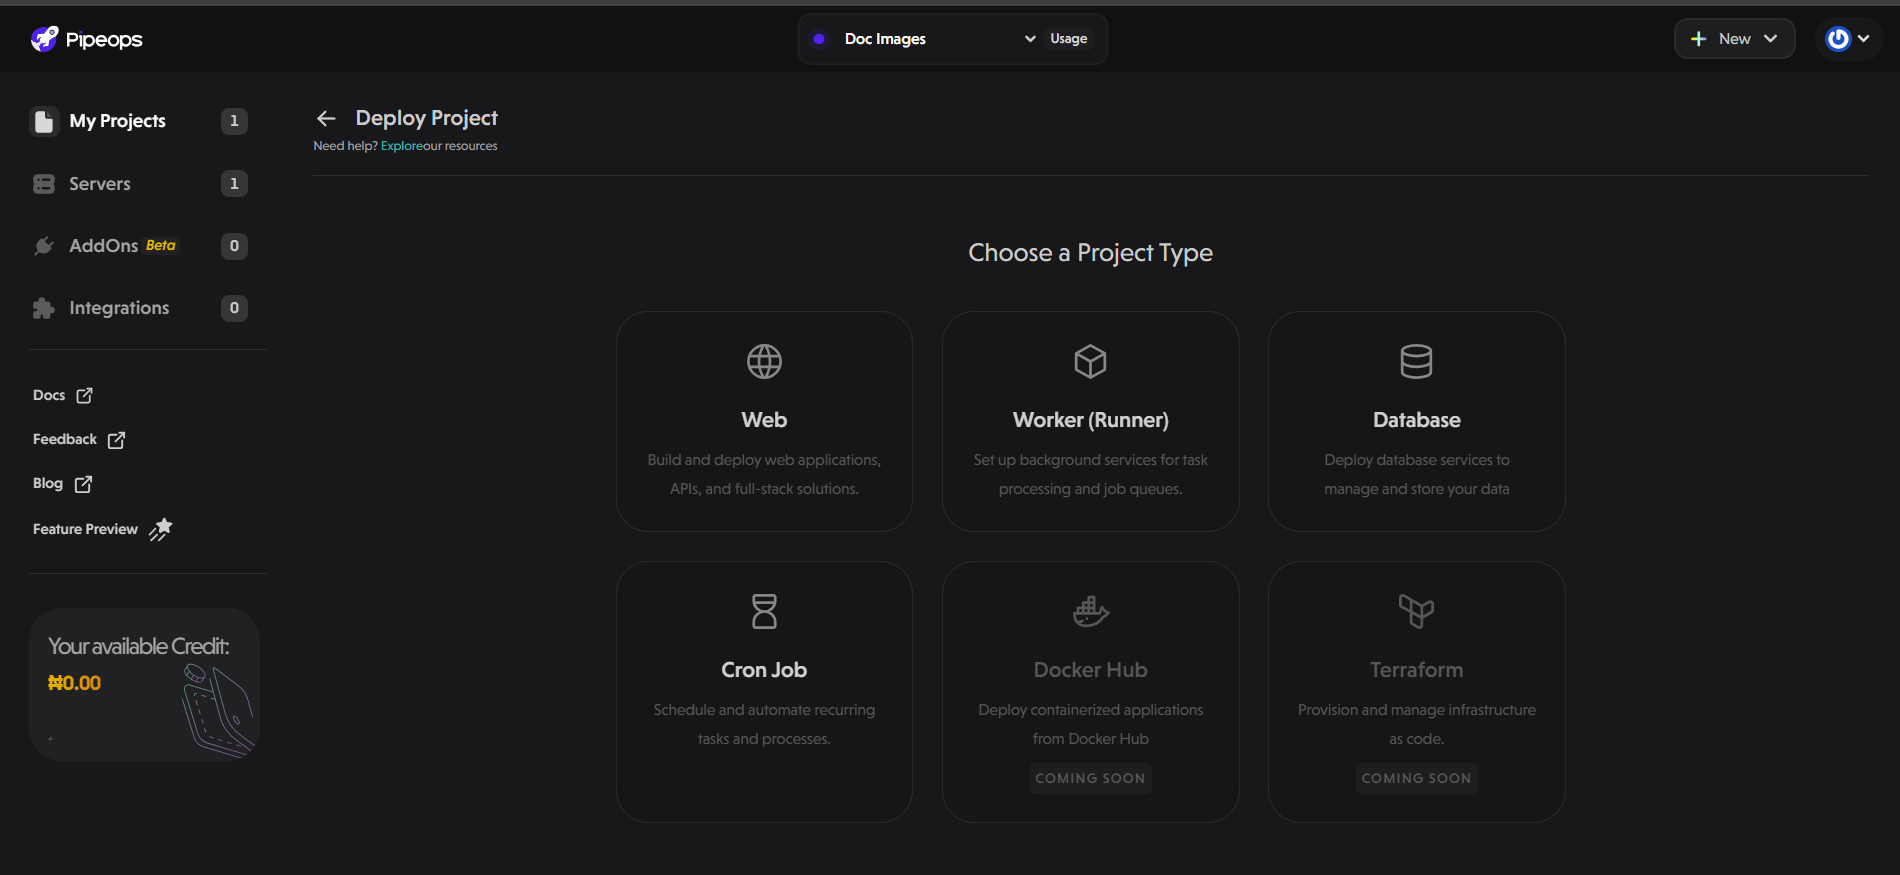
Step 3: Choose a Project Type
From your second deployment onward, you’ll first be asked to select a project type before proceeding to select Git provider account.
Here's an overview of some of the available project types:
- Web: This is ideal if you are deploying a website, full-stack solution, single-page application, or API.
- Worker (Runner): Suitable for applications that require asynchronous task execution, background processing, or handling of job queues.
- Cron Job: This is best for automating tasks that need to run on a schedule, like generating reports or backing up data.
- Database: You can deploy a database service to manage and store data for your applications.
Select the project type that aligns with your needs to proceed.
Step 4: Select Git Account and Organization
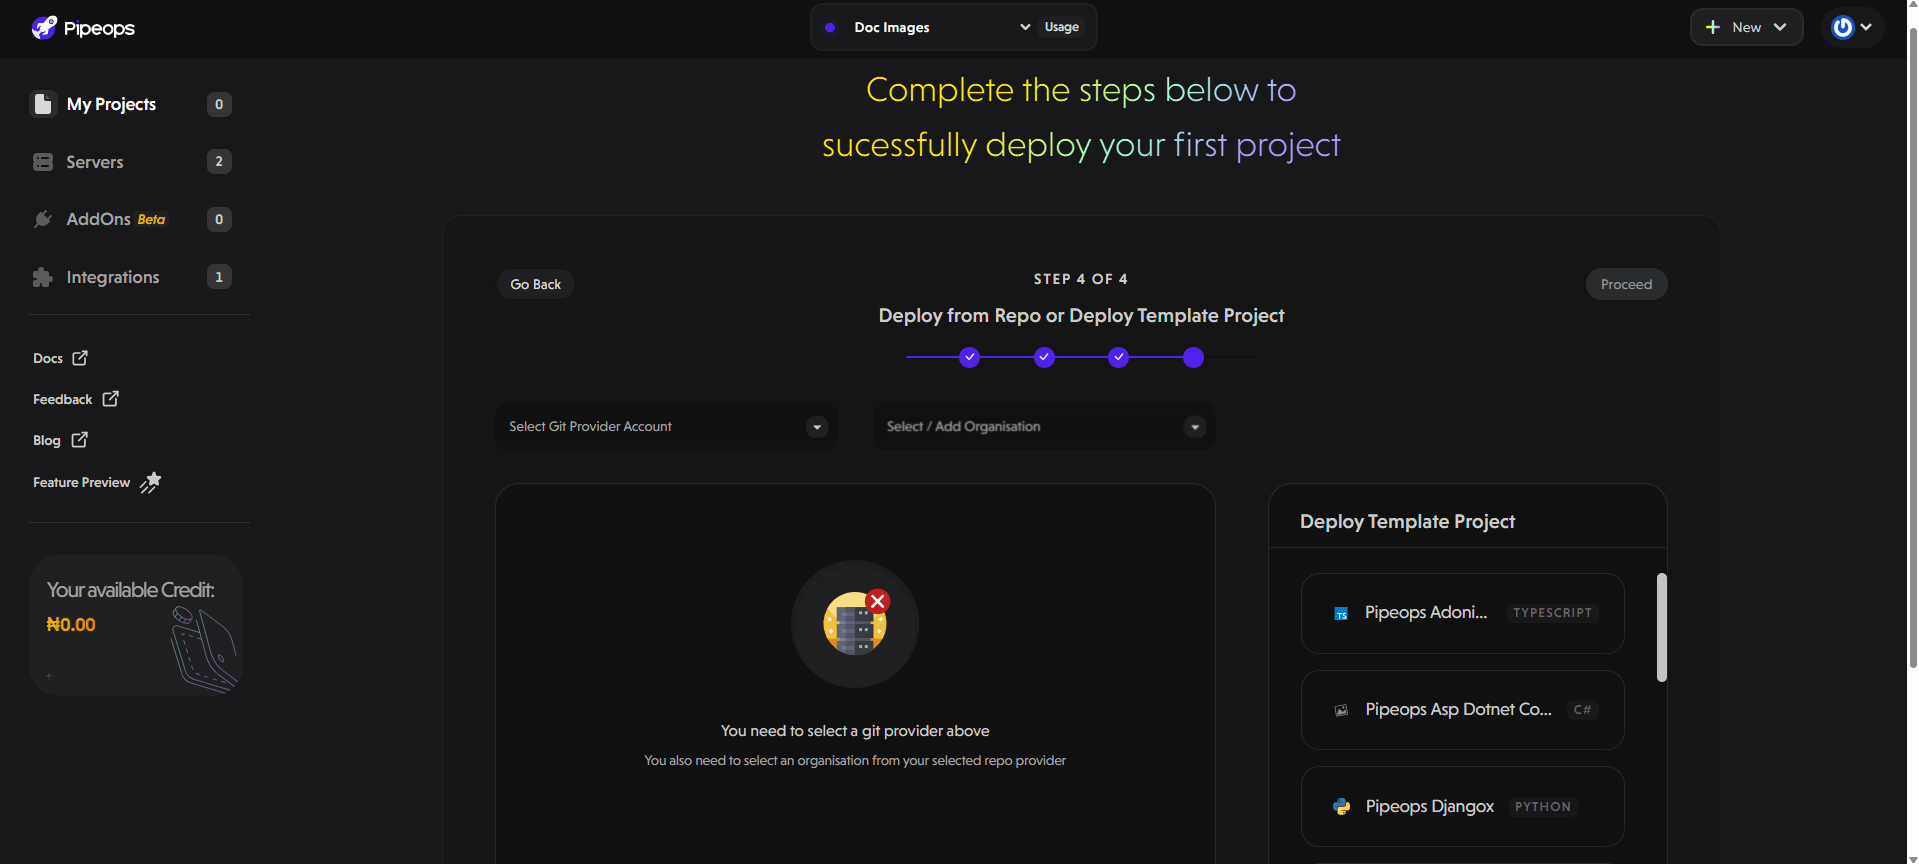
- Choose your connected Git provider account from the dropdown.
- After that, choose the organization from which you’ll be deploying. Doing this will open a field showing a list of repositories.
- Search and select the repository and branch you would like to deploy.
Click Proceed to continue.
Test with Templates
PipeOps provides multiple template projects for users. If you are not ready to deploy your custom project, you can test how the service works with any of the provided templates. Here is how to get started:
-
Select from the template projects on the right pane of the screen. For this guide, we’ll use PipeOps React Javascript.
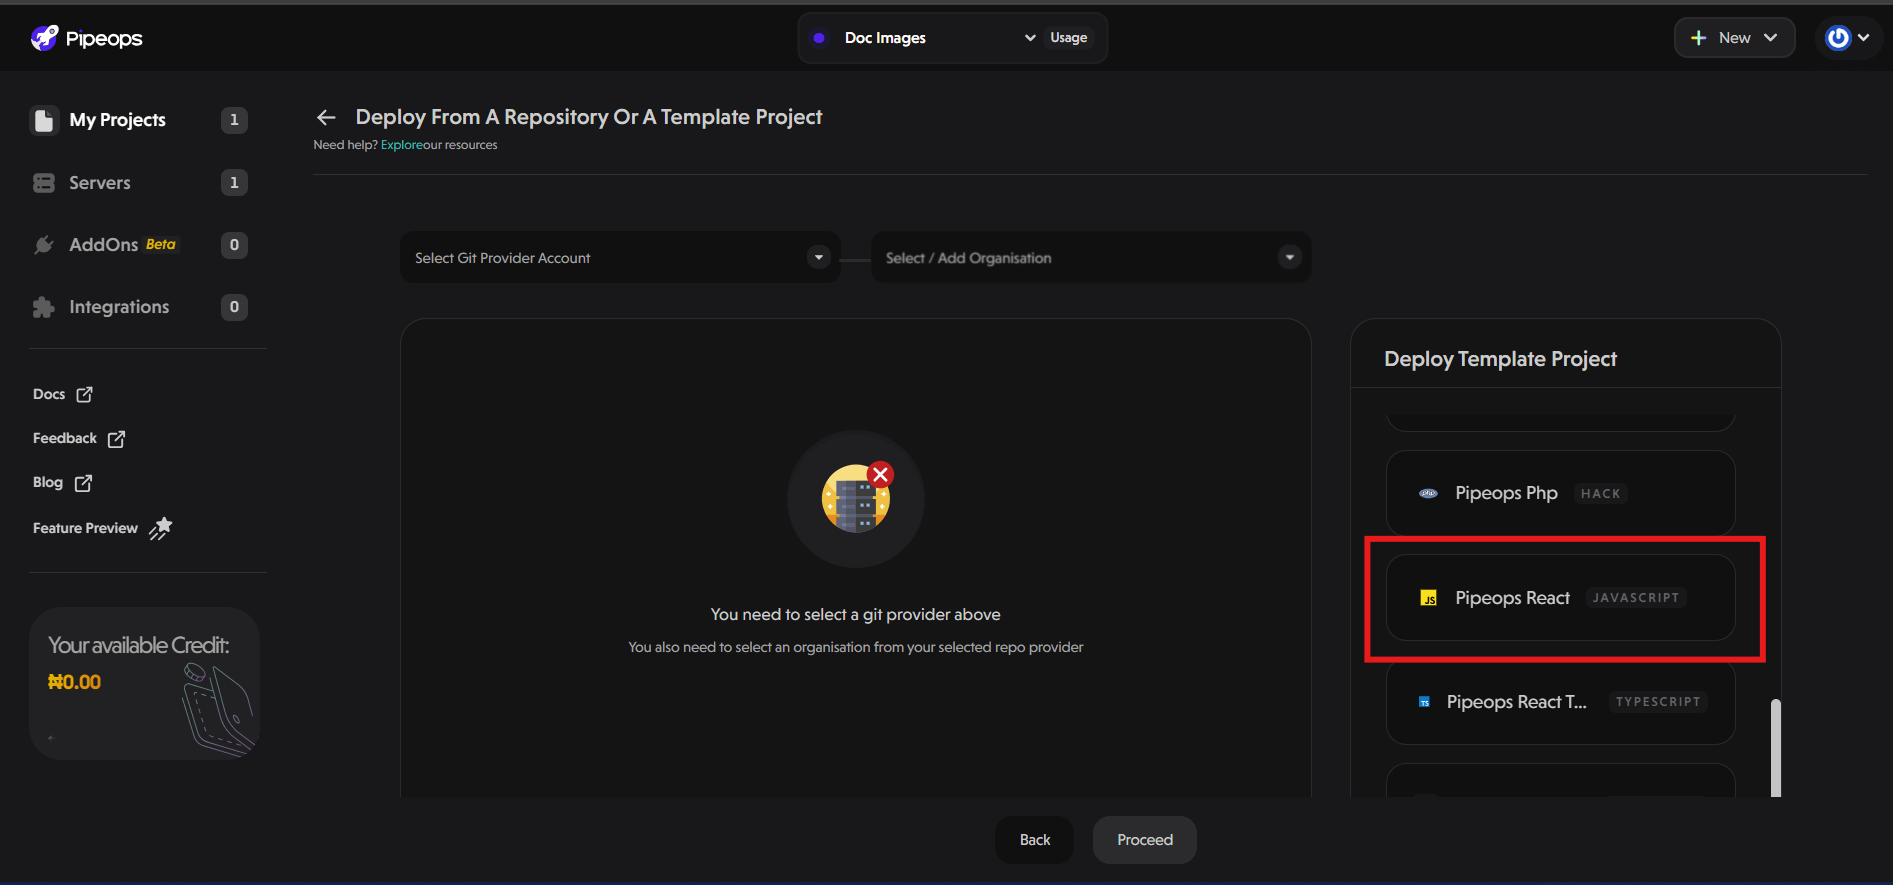
-
Click on the desired template. This takes you to the configuration page.
Step 5: Configure Project
Whether you're using a template project or deploying your custom project, the configuration process will look very similar. Once you've selected your repository and branch (or a template), you'll be taken to the Project Summary page.
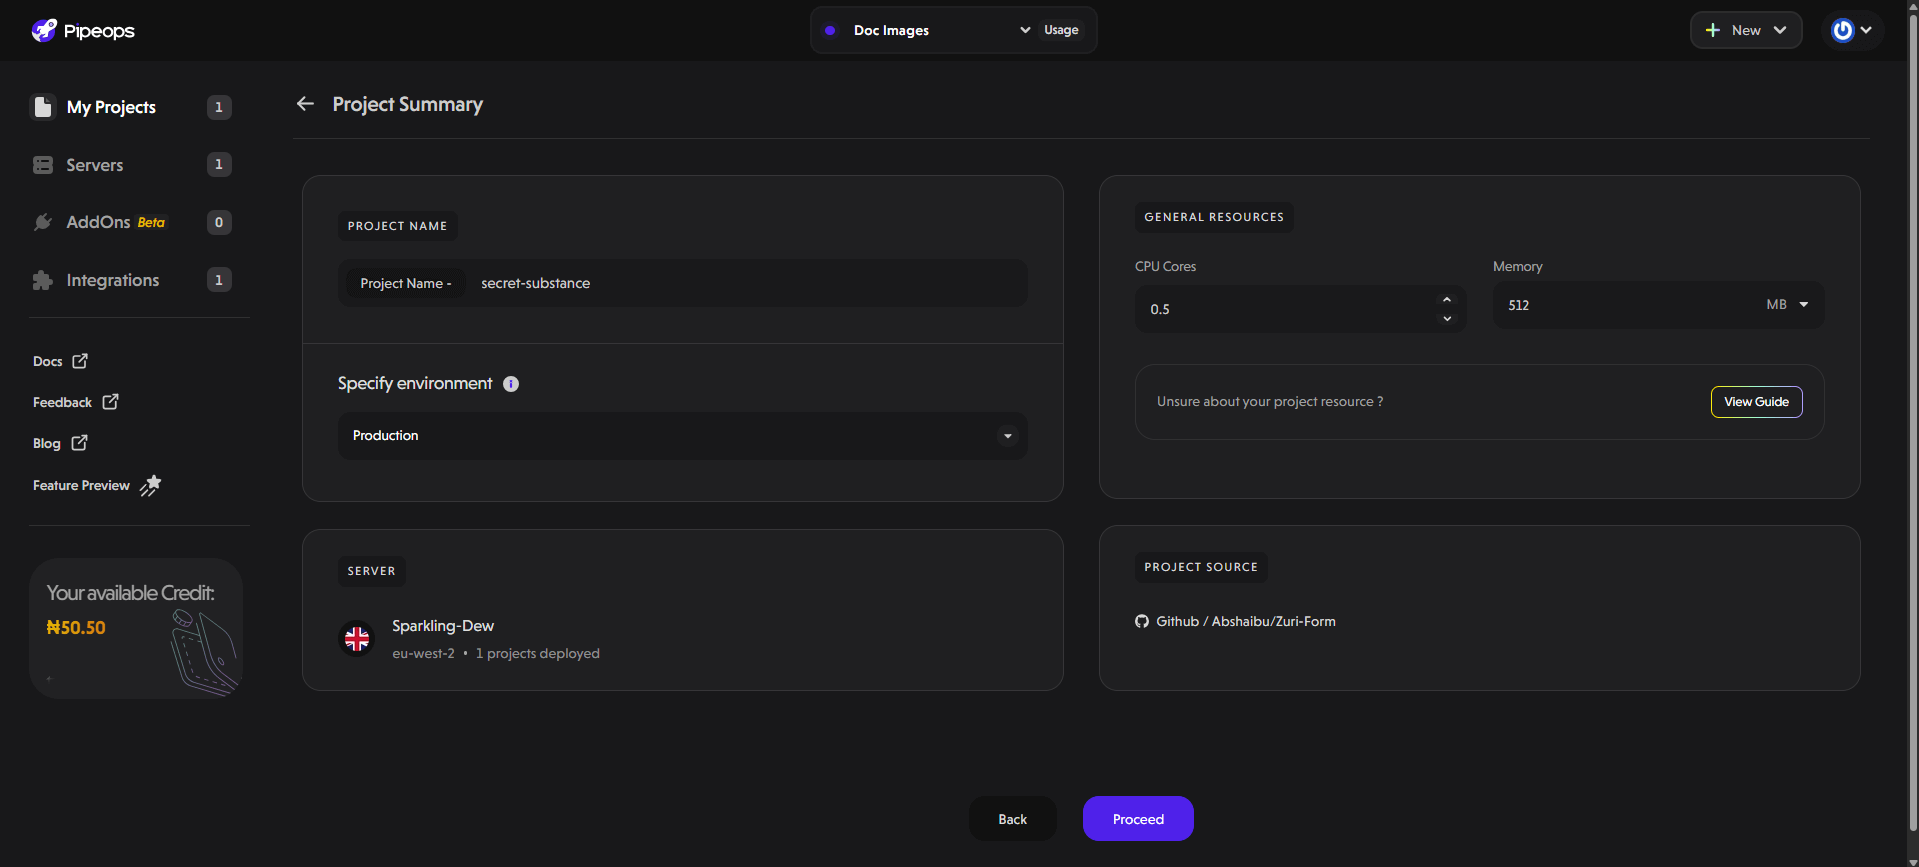
Here, you can:
- Choose a custom name for your project. PipeOps generates a name automatically for you, but you can edit it to your liking.
- Select a deployment environment. Example: staging, development, or production.
- Specify which of your servers you want to deploy into.
- Configure general resources, including sCPU and memory.
Click the Proceed button to continue.
Step 6: Configure Build Settings
In this section, we will configure the project build settings. For this guide, we will choose the ReactJS framework and Node (Static Frontend) build method.
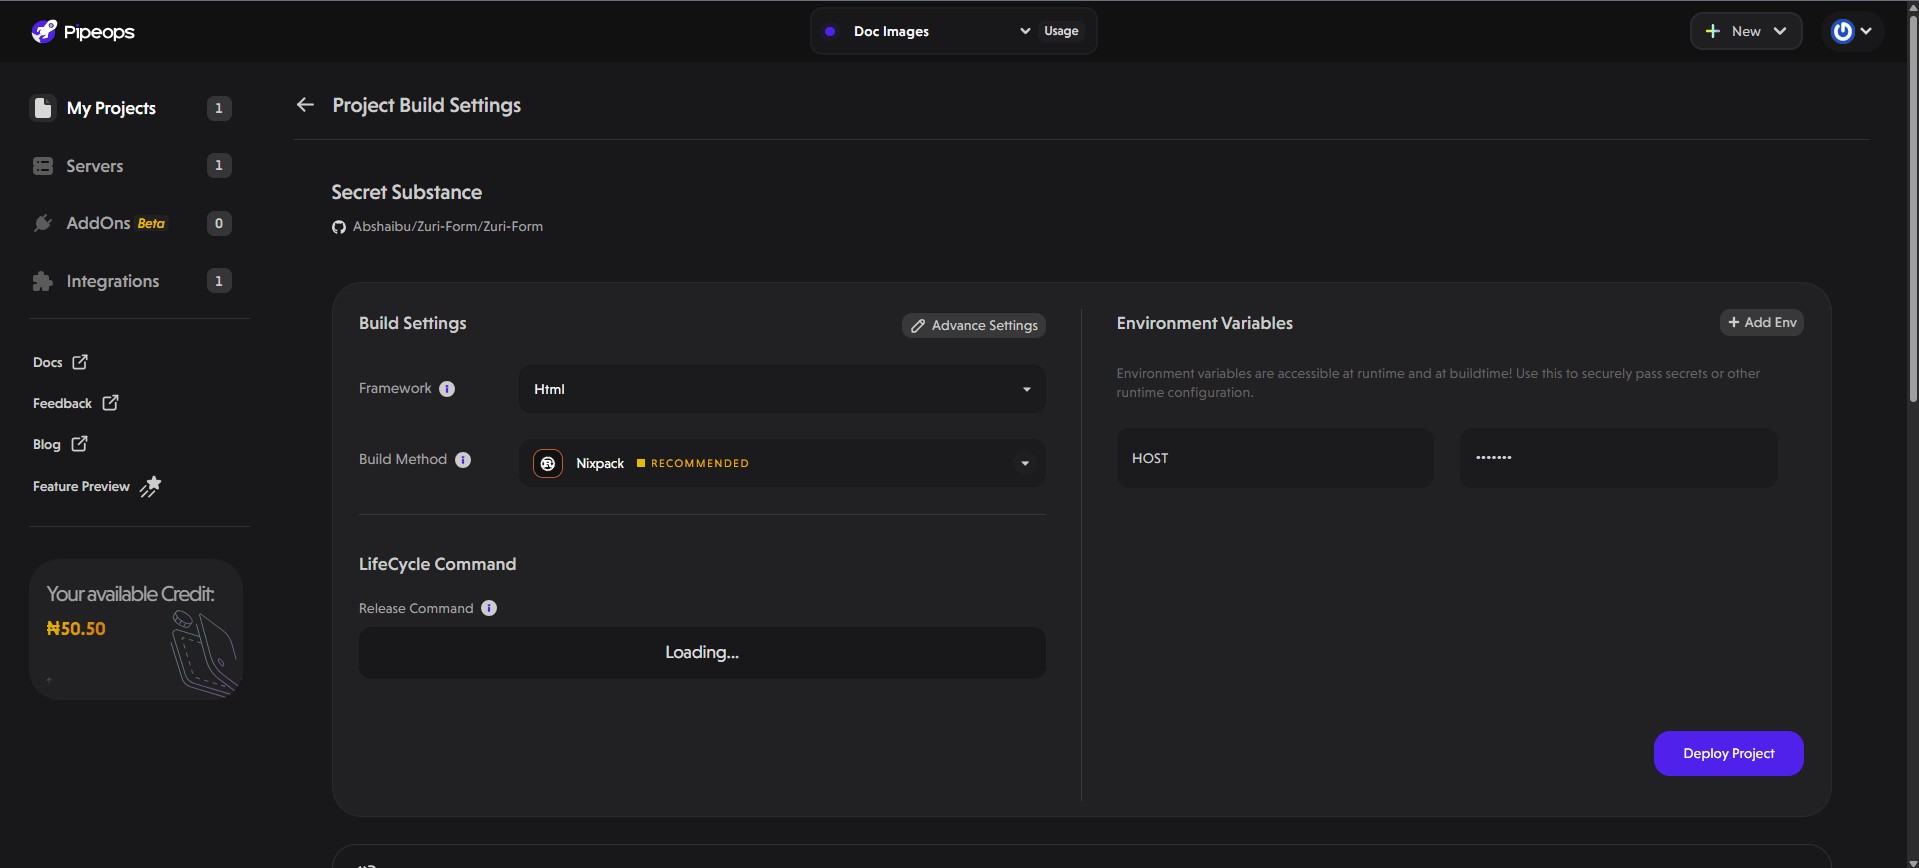
Click the Deploy Project button to start the build process.
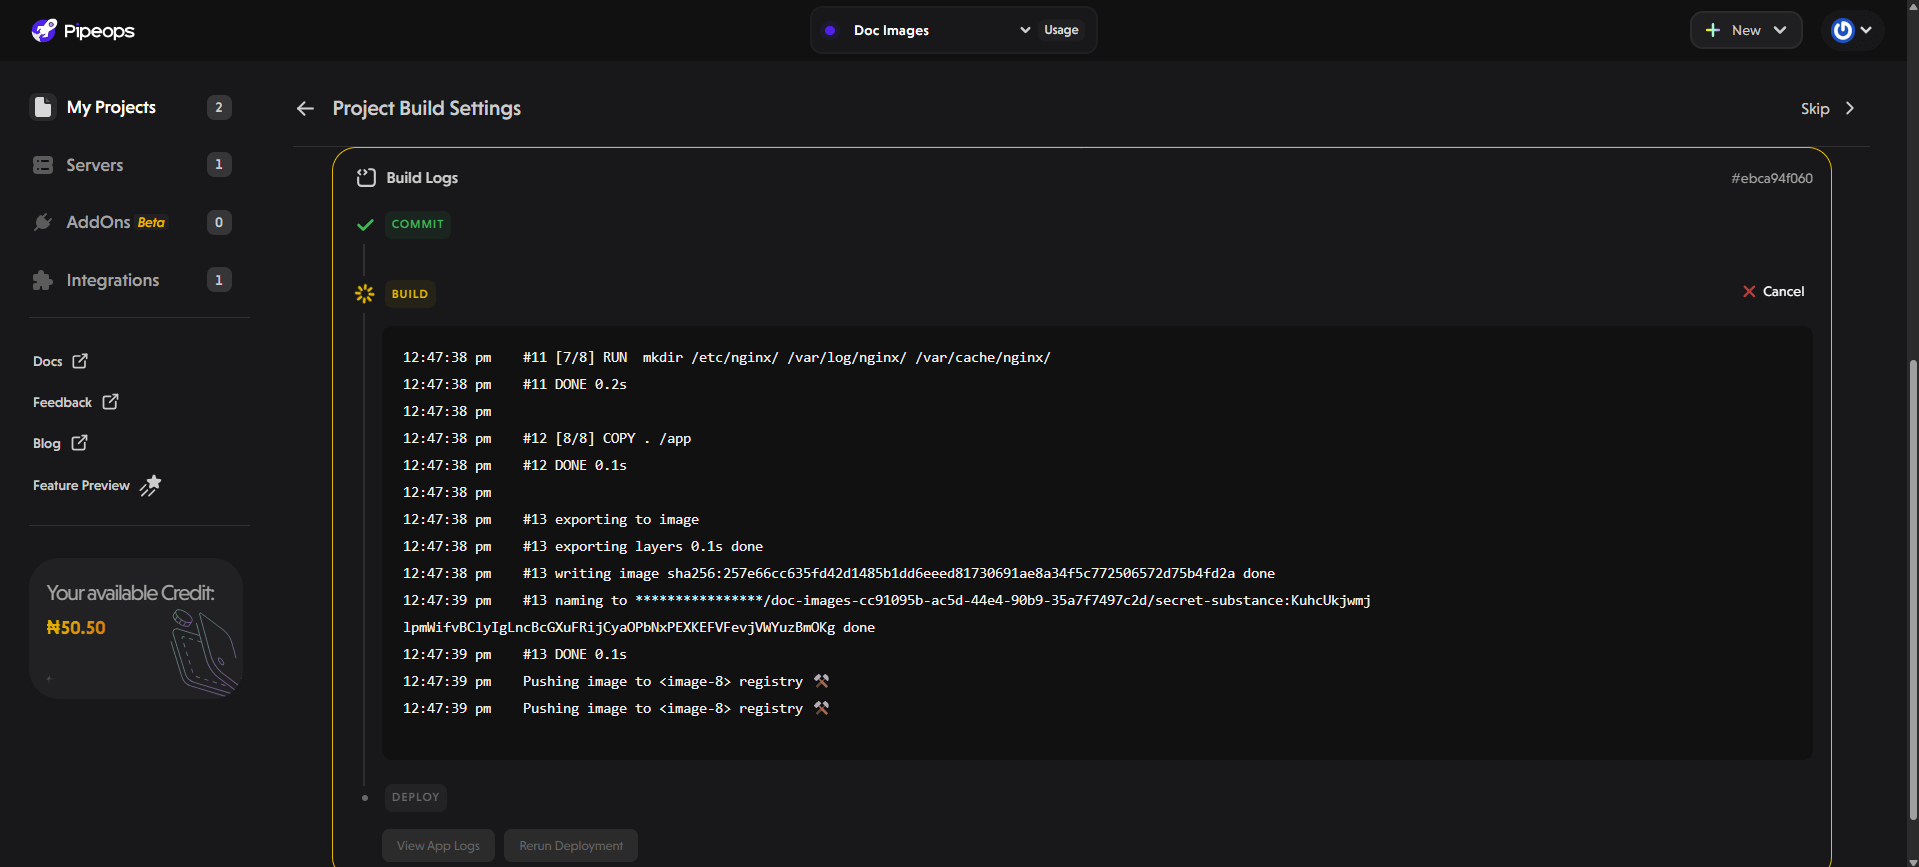
Step 7: Monitor Deployment Progress
-
PipeOps will start the build process, and you’ll be able to view the build logs to track progress.
-
Once the deployment is complete, you’ll get a notification stating the project has been deployed successfully.
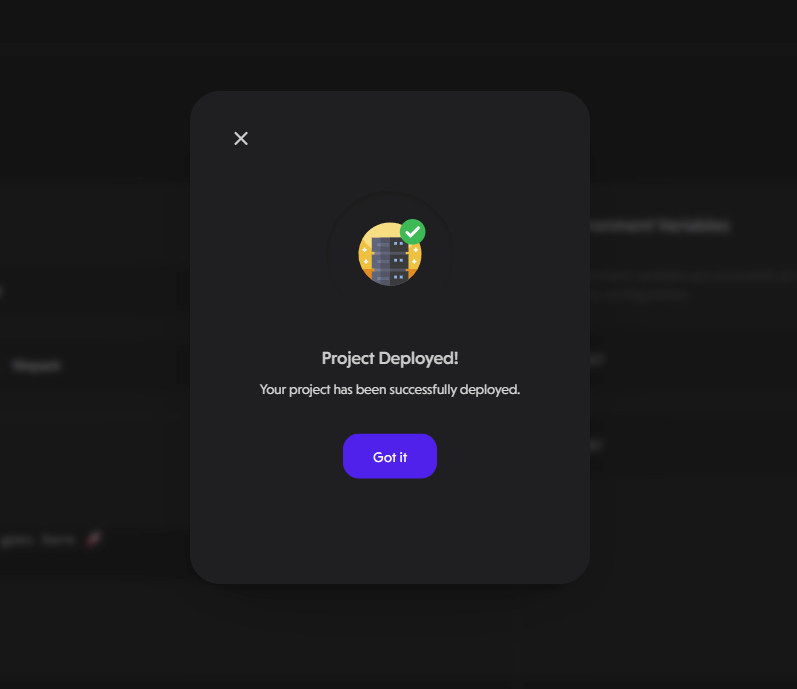
Click “Got it” to return to the project’s dashboard.
-
The dashboard provides an overview of all the project details. You can view the status of the project - whether it’s running or not, and access additional information like resource usage.
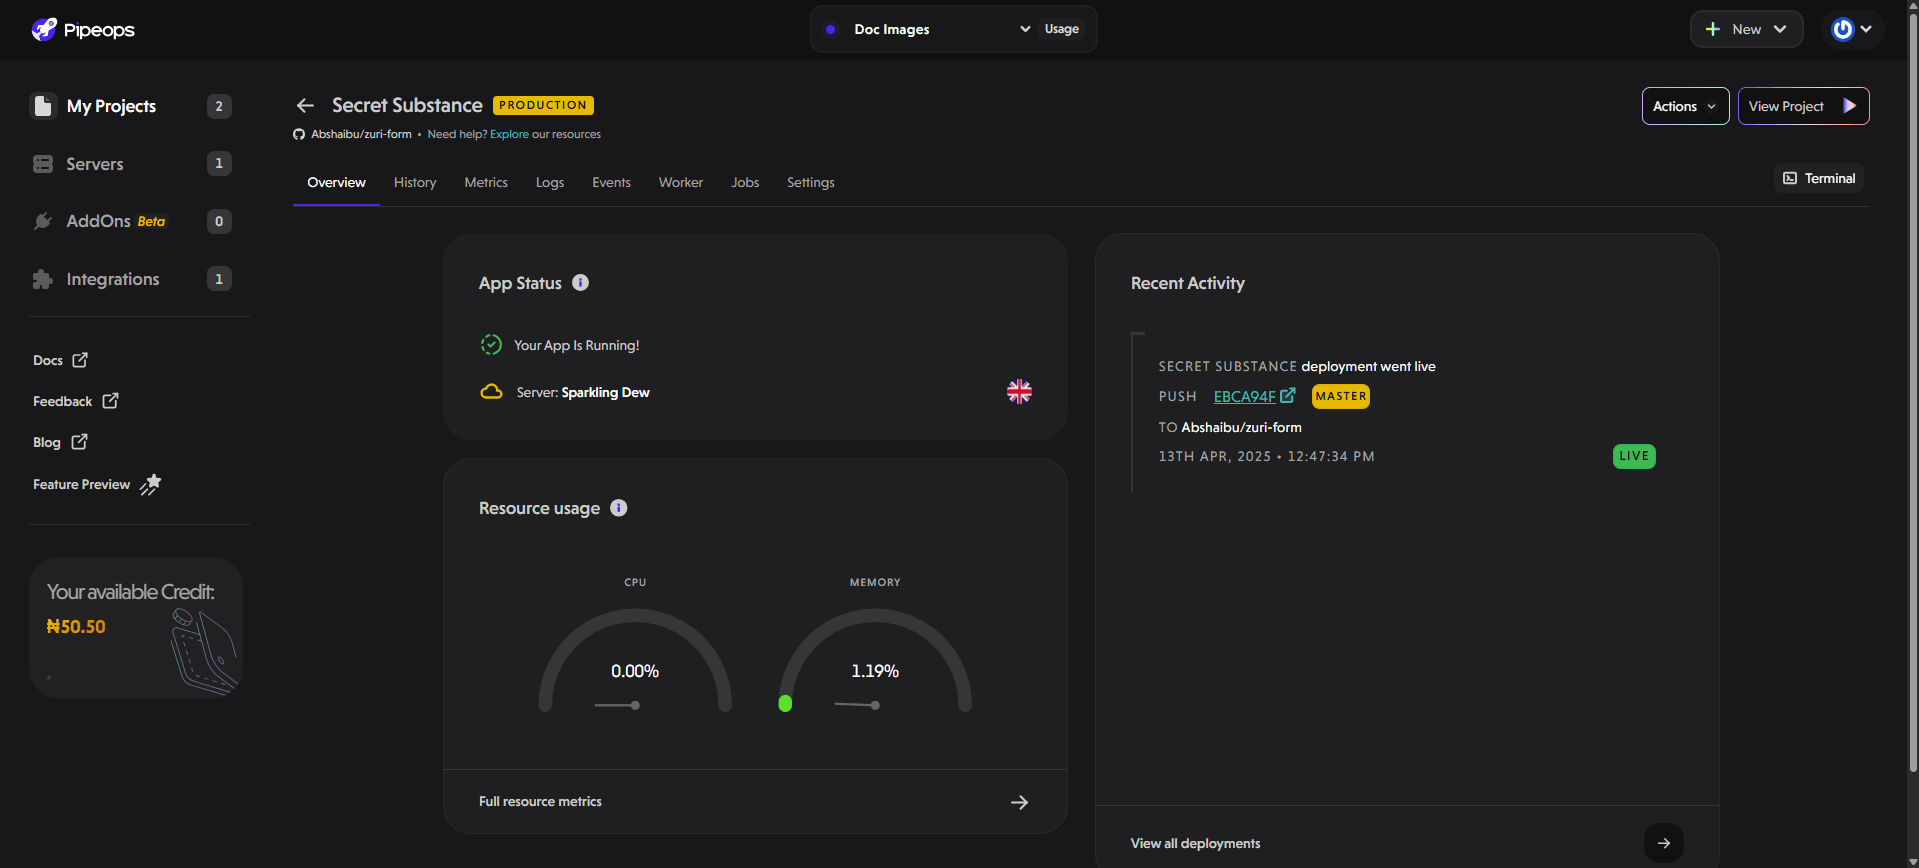
PipeOps provides various metrics to help you monitor, de-bug, and re-configure deployed projects. These include History, Metrics, Logs, Events, Terminal and Settings.
Accessing Deployed Project
Here’s how to view your deployed project:
-
Click the View Project link at the top right corner of your screen.

-
This automatically launches the application in a new tab.
This setup has some basic configurations applied by default
- Application Network Port
- Network Access Port ([Environment Variable])
- Single Replica with 0.1 CPU and 212MB RAM ([Scaling and Replication])
- Auto Deploy a branch when a code change is checked in.
To delete a project, use the Delete Project guide here.